

Manage Autonomy Zones
Use the Autonomy Zone page to decide which parts of your organization carry their own rules, which agents sit where, and what each zone decided. You need the editor role or higher to change a zone; anyone can read it.
Autonomy Zones sit on your organization’s tree of units. Any unit may carry a zone, and most do not: a unit without one inherits the nearest zone above it, and each agent resolves to one effective zone. Autonomy Zone explains the model.
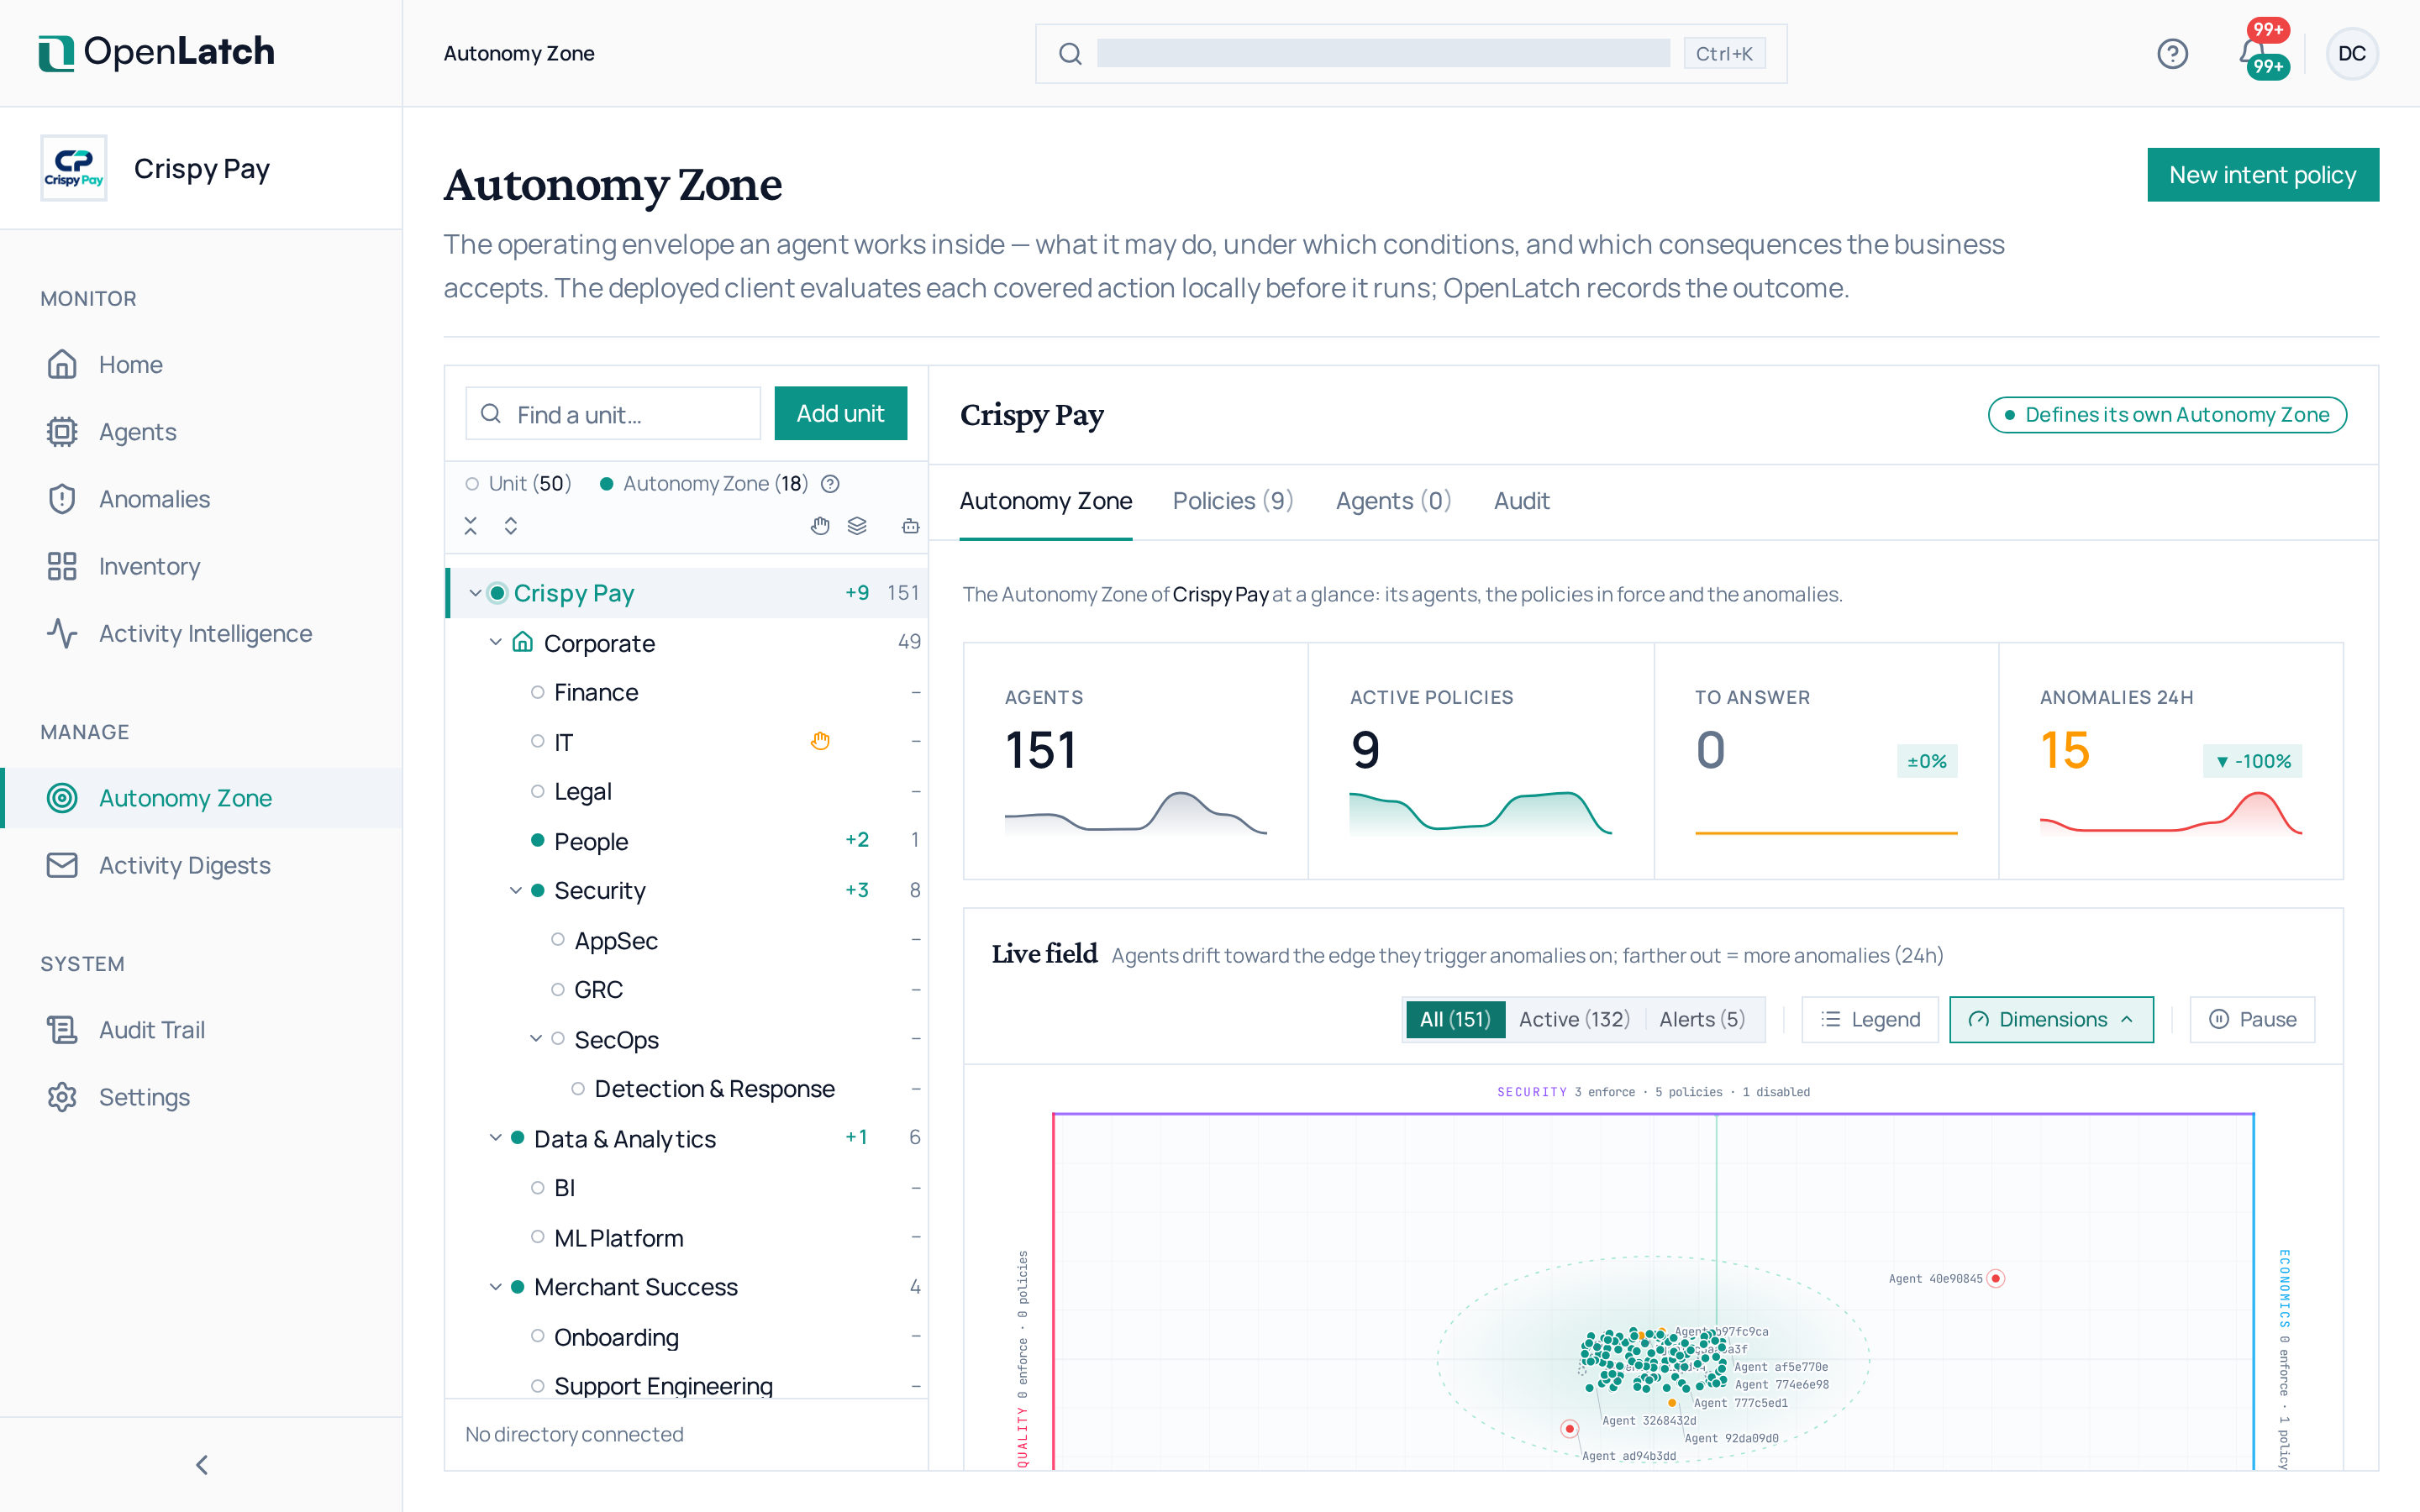
Read a zone
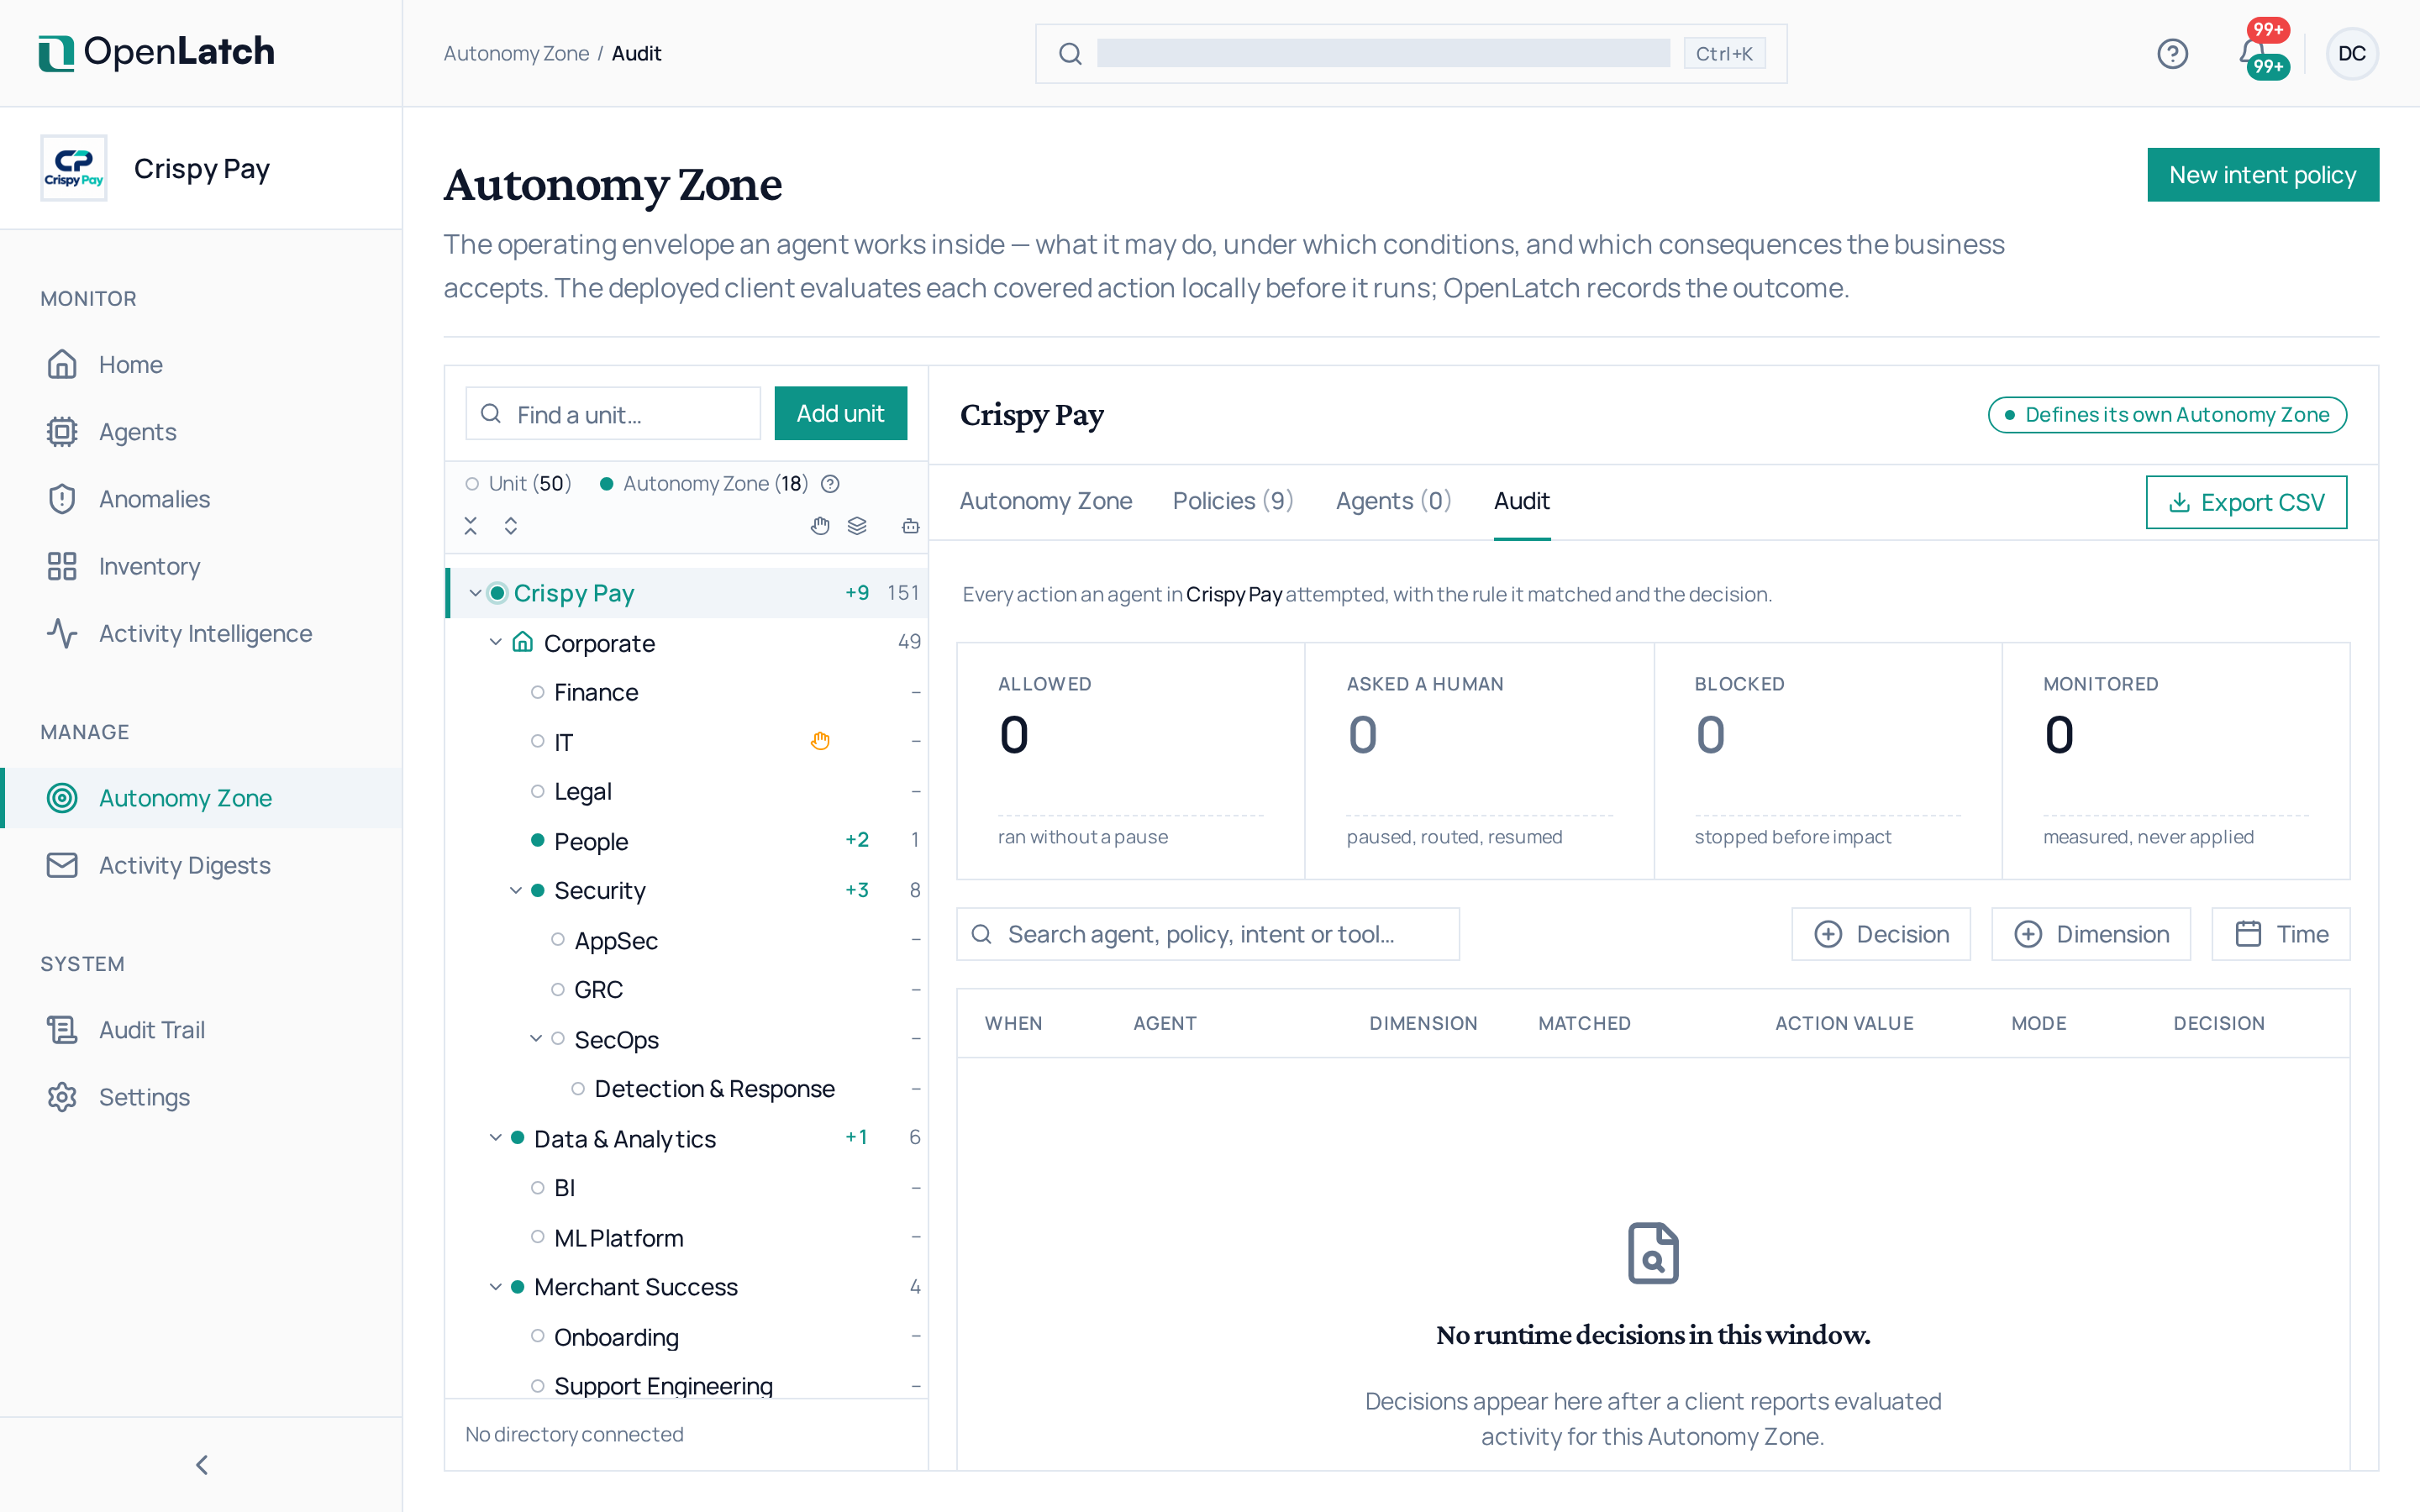
Section titled “Read a zone”Select a unit in the tree. The page shows its zone at a glance: its agents, the intent policies in force and the anomalies they raised. The tabs go further:
| Tab | What it shows |
|---|---|
| Policies | The intent policies authored in the unit, and on request the ones it inherits. See Write an Agent Intent Policy |
| Agents | The agents the unit governs directly |
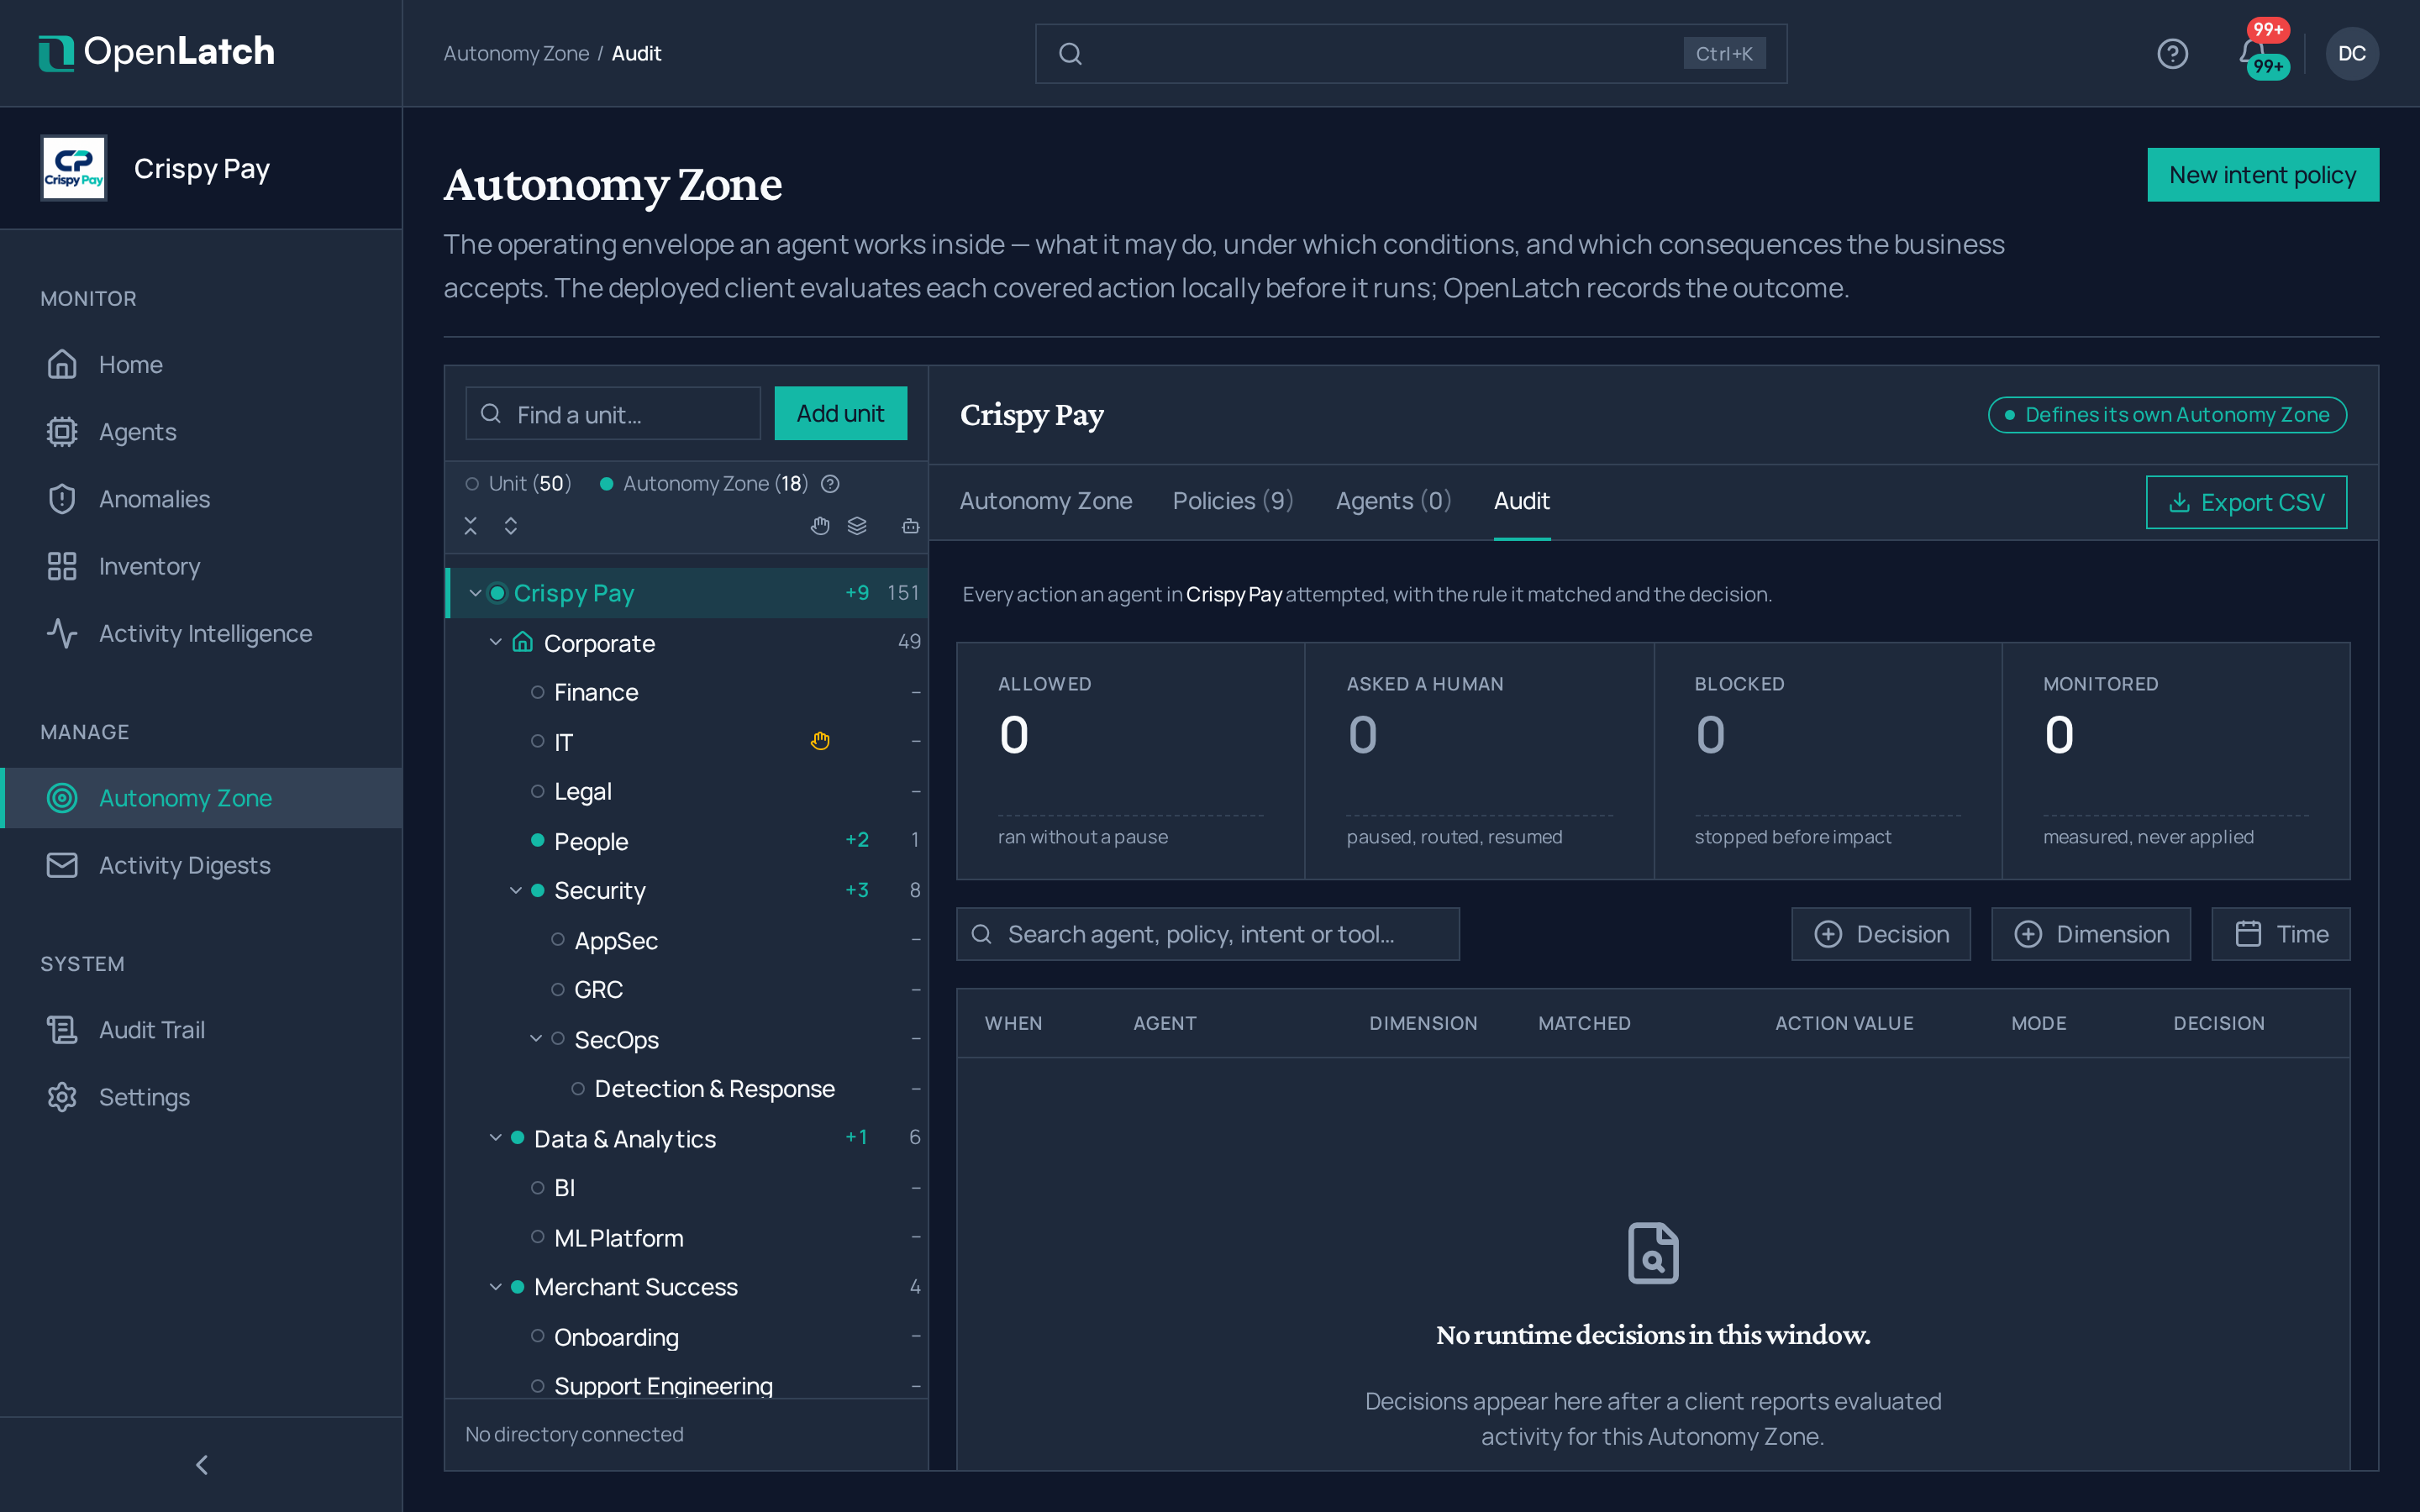
| Audit | Every action an agent in the unit attempted, with the rule it matched and the decision |
Give a unit its own zone
Section titled “Give a unit its own zone”- Select the unit and open its settings.
- Turn on its own Autonomy Zone. The zone starts empty and behaves exactly like the zone above it until you author a policy in it: every unit inherits every layer above it either way.
- Author the policies that apply only here. See Write an Agent Intent Policy.
To remove a unit’s own zone, use Delete Autonomy Zone in the unit’s settings. The policies authored in it retire, and its agents move to the zone above.
Add or change a unit
Section titled “Add or change a unit”Units usually come from your directory, through Connect a directory for owner lookup. A directory unit’s name and place in the tree belong to the directory and are overwritten on the next sync; its Autonomy Zone is yours.
Add a unit by hand for a part of the business the directory does not model, such as a plant line or a joint venture. A unit added by hand is never overwritten by a sync, and it is the only kind of unit you can delete. Deleting it moves its children and its agents to its parent. The tree goes up to ten levels deep.
Place agents
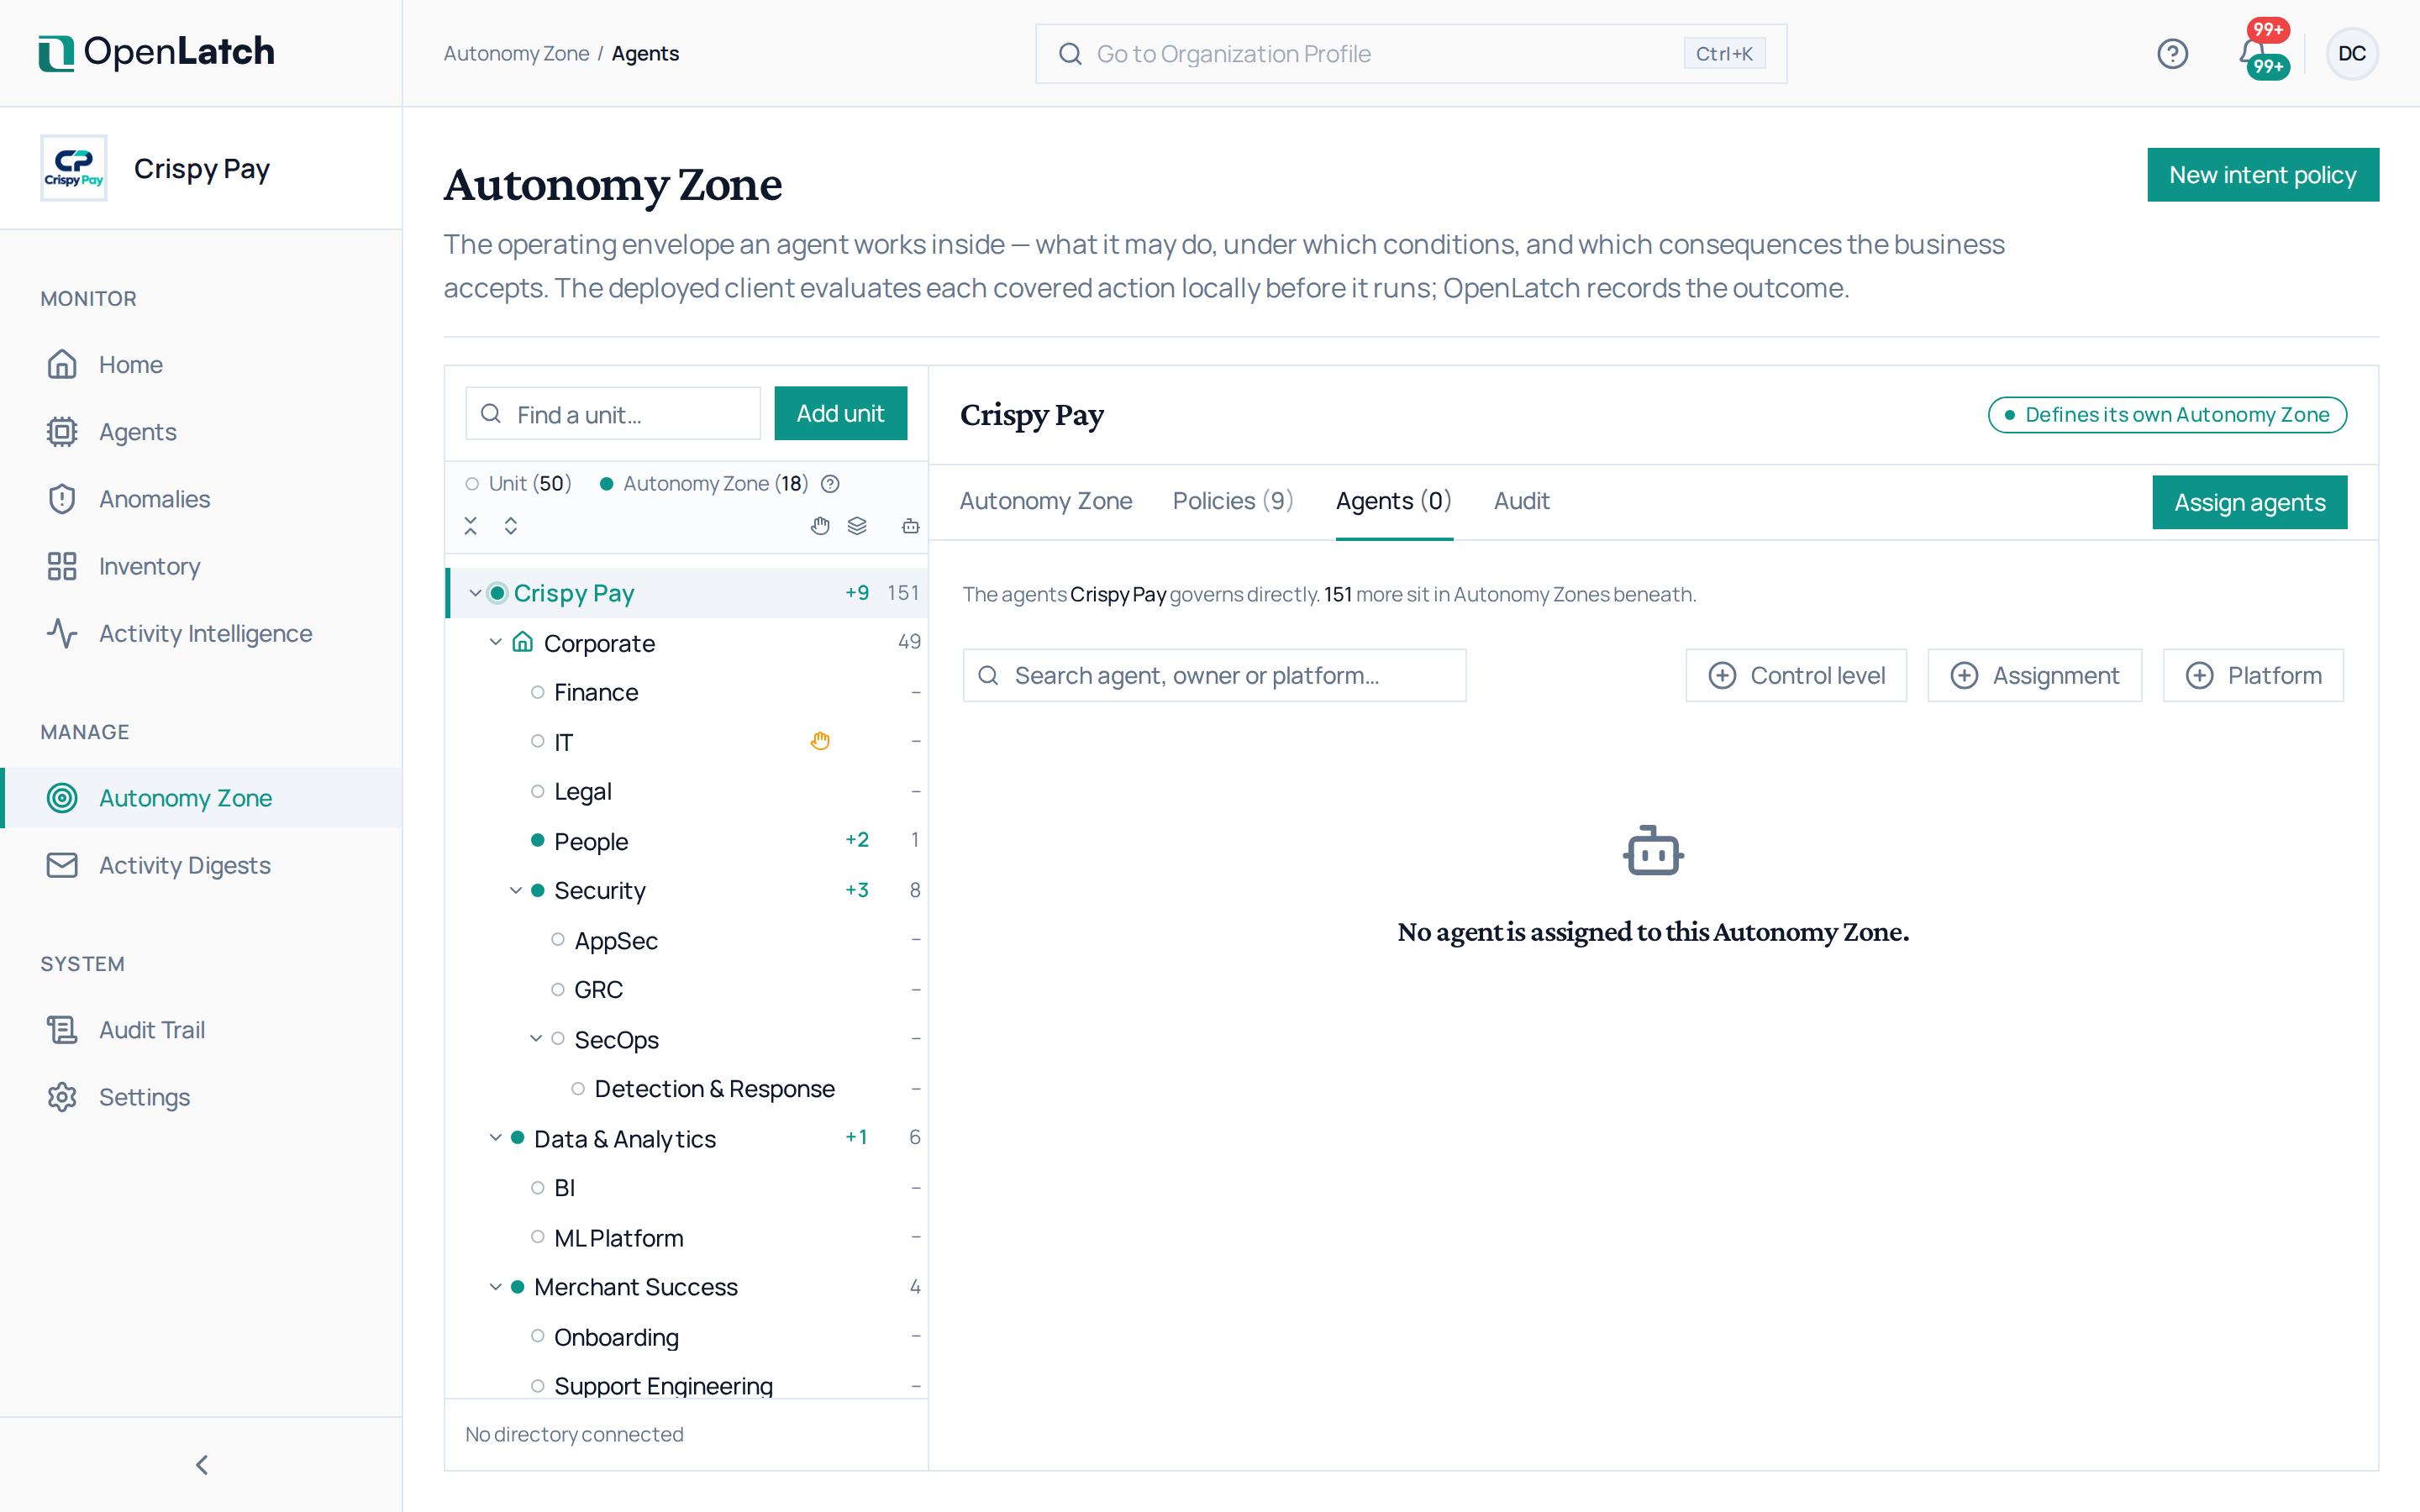
Section titled “Place agents”By default an agent sits in its owner’s Autonomy Zone, from the owner’s unit in the directory. To place agents elsewhere, open the zone’s Agents tab and choose Assign agents: the drawer moves agents into this zone, or hands them back to their owner’s zone. An agent assigned by hand stays where you put it until you return it; Remove manual assignment lets the directory decide its zone again.
The agent’s own Autonomy Zone tab shows the effective zone it resolves to, layer by layer. See Find and read an agent.
Choose where an Ask reaches a person
Section titled “Choose where an Ask reaches a person”ASK delivery sets where an Ask from the zone’s intent policies reaches a person:
| Setting | Where the Ask appears |
|---|---|
| Platform | On the Anomalies page |
| Agent | In the agent’s own prompt, where the agent can ask; elsewhere as Platform |
| Both | In the agent’s prompt and on the Anomalies page |
Child zones inherit the setting unless they set their own. Agents that cannot ask in their own prompt are listed beside the setting. By default an Ask lets the action run and flags it for review. See Verdicts.