

Configure the organization
Set up the console for your organization: the account, single sign-on, users and roles, owner lookup, retention and notifications, and the credential the client uses to enroll. Everything here happens in the browser, takes about half an hour, and touches no machine. Installing the client is Deploy the client.
Before you start, have the readiness inventory filled in, and make sure your browser reaches challenges.cloudflare.com.
Sign in and finish the organization
Section titled “Sign in and finish the organization”OpenLatch creates the organization for you, names the address you gave your OpenLatch contact as its owner, and sends that address an invitation. The welcome wizard is where you finish setting it up.
-
Accept the invitation. Open the link in the invitation email. It takes you to your organization’s own sign-in page and admits the invited address as the owner. Complete it with any method the page offers: a passkey, a magic link, an email address and password, or a social sign-in.
Expected: the console opens on your organization, and your role reads owner.
-
Sign in from
app.openlatch.ai. Every later sign-in starts with one step: your email address. That step runs a short check in your browser that the visitor is a person; it usually asks nothing, and at most asks for one click. The console then finds the organization your address belongs to and opens its sign-in page with the address filled in.An address that no organization knows is told so. A check that fails every time usually means the browser cannot reach
challenges.cloudflare.com; see Network requirements. -
Work through the welcome wizard. It runs in four steps: name the organization, invite teammates, connect an agent, and a summary of what you completed and what you skipped. Use the first step to set the legal or business-unit name you want on the audit trail. Connecting an agent is Deploy the client; skipping it here costs nothing.
Expected: the wizard closes on the console, with no agents enrolled yet.
Connect single sign-on
Section titled “Connect single sign-on”Single sign-on uses SAML 2.0, configured per organization. Microsoft Entra ID, Okta, PingOne and Active Directory Federation Services all connect through the same screen. Identity settings need the admin role or higher.
-
Open Settings › SAML SSO and add a provider. The page shows the service-provider details that whoever administers your identity provider will need. Have your identity provider’s metadata at hand.
-
Enter the identity provider details. The console asks for the identity provider’s entity ID, its sign-on URL, its signing certificate, and the email domains allowed to sign in. You can supply a metadata URL instead of pasting the certificate. Pick your identity provider from the list first, and the page shows a setup guide written for that product.
The assertion your identity provider sends must carry the user’s email address and display name; the setup guide names the exact fields.
-
Save, then run the connection test, then sign in. The test runs against the saved configuration, not what is still on screen. It checks that the identity provider’s metadata URL or sign-on URL answers; it does not perform a SAML sign-in. Then sign in through SAML yourself, in a private browser window, before you tell anyone else to.
Expected: the test reports a pass, and your own SAML sign-in reaches the console.
-
Decide who may join. Two gates control membership. An allowed email domain lets anyone with an address in that domain register into the organization. An invitation admits one named person. Keep the allowed domains narrow, and rely on invitations for everyone outside them.
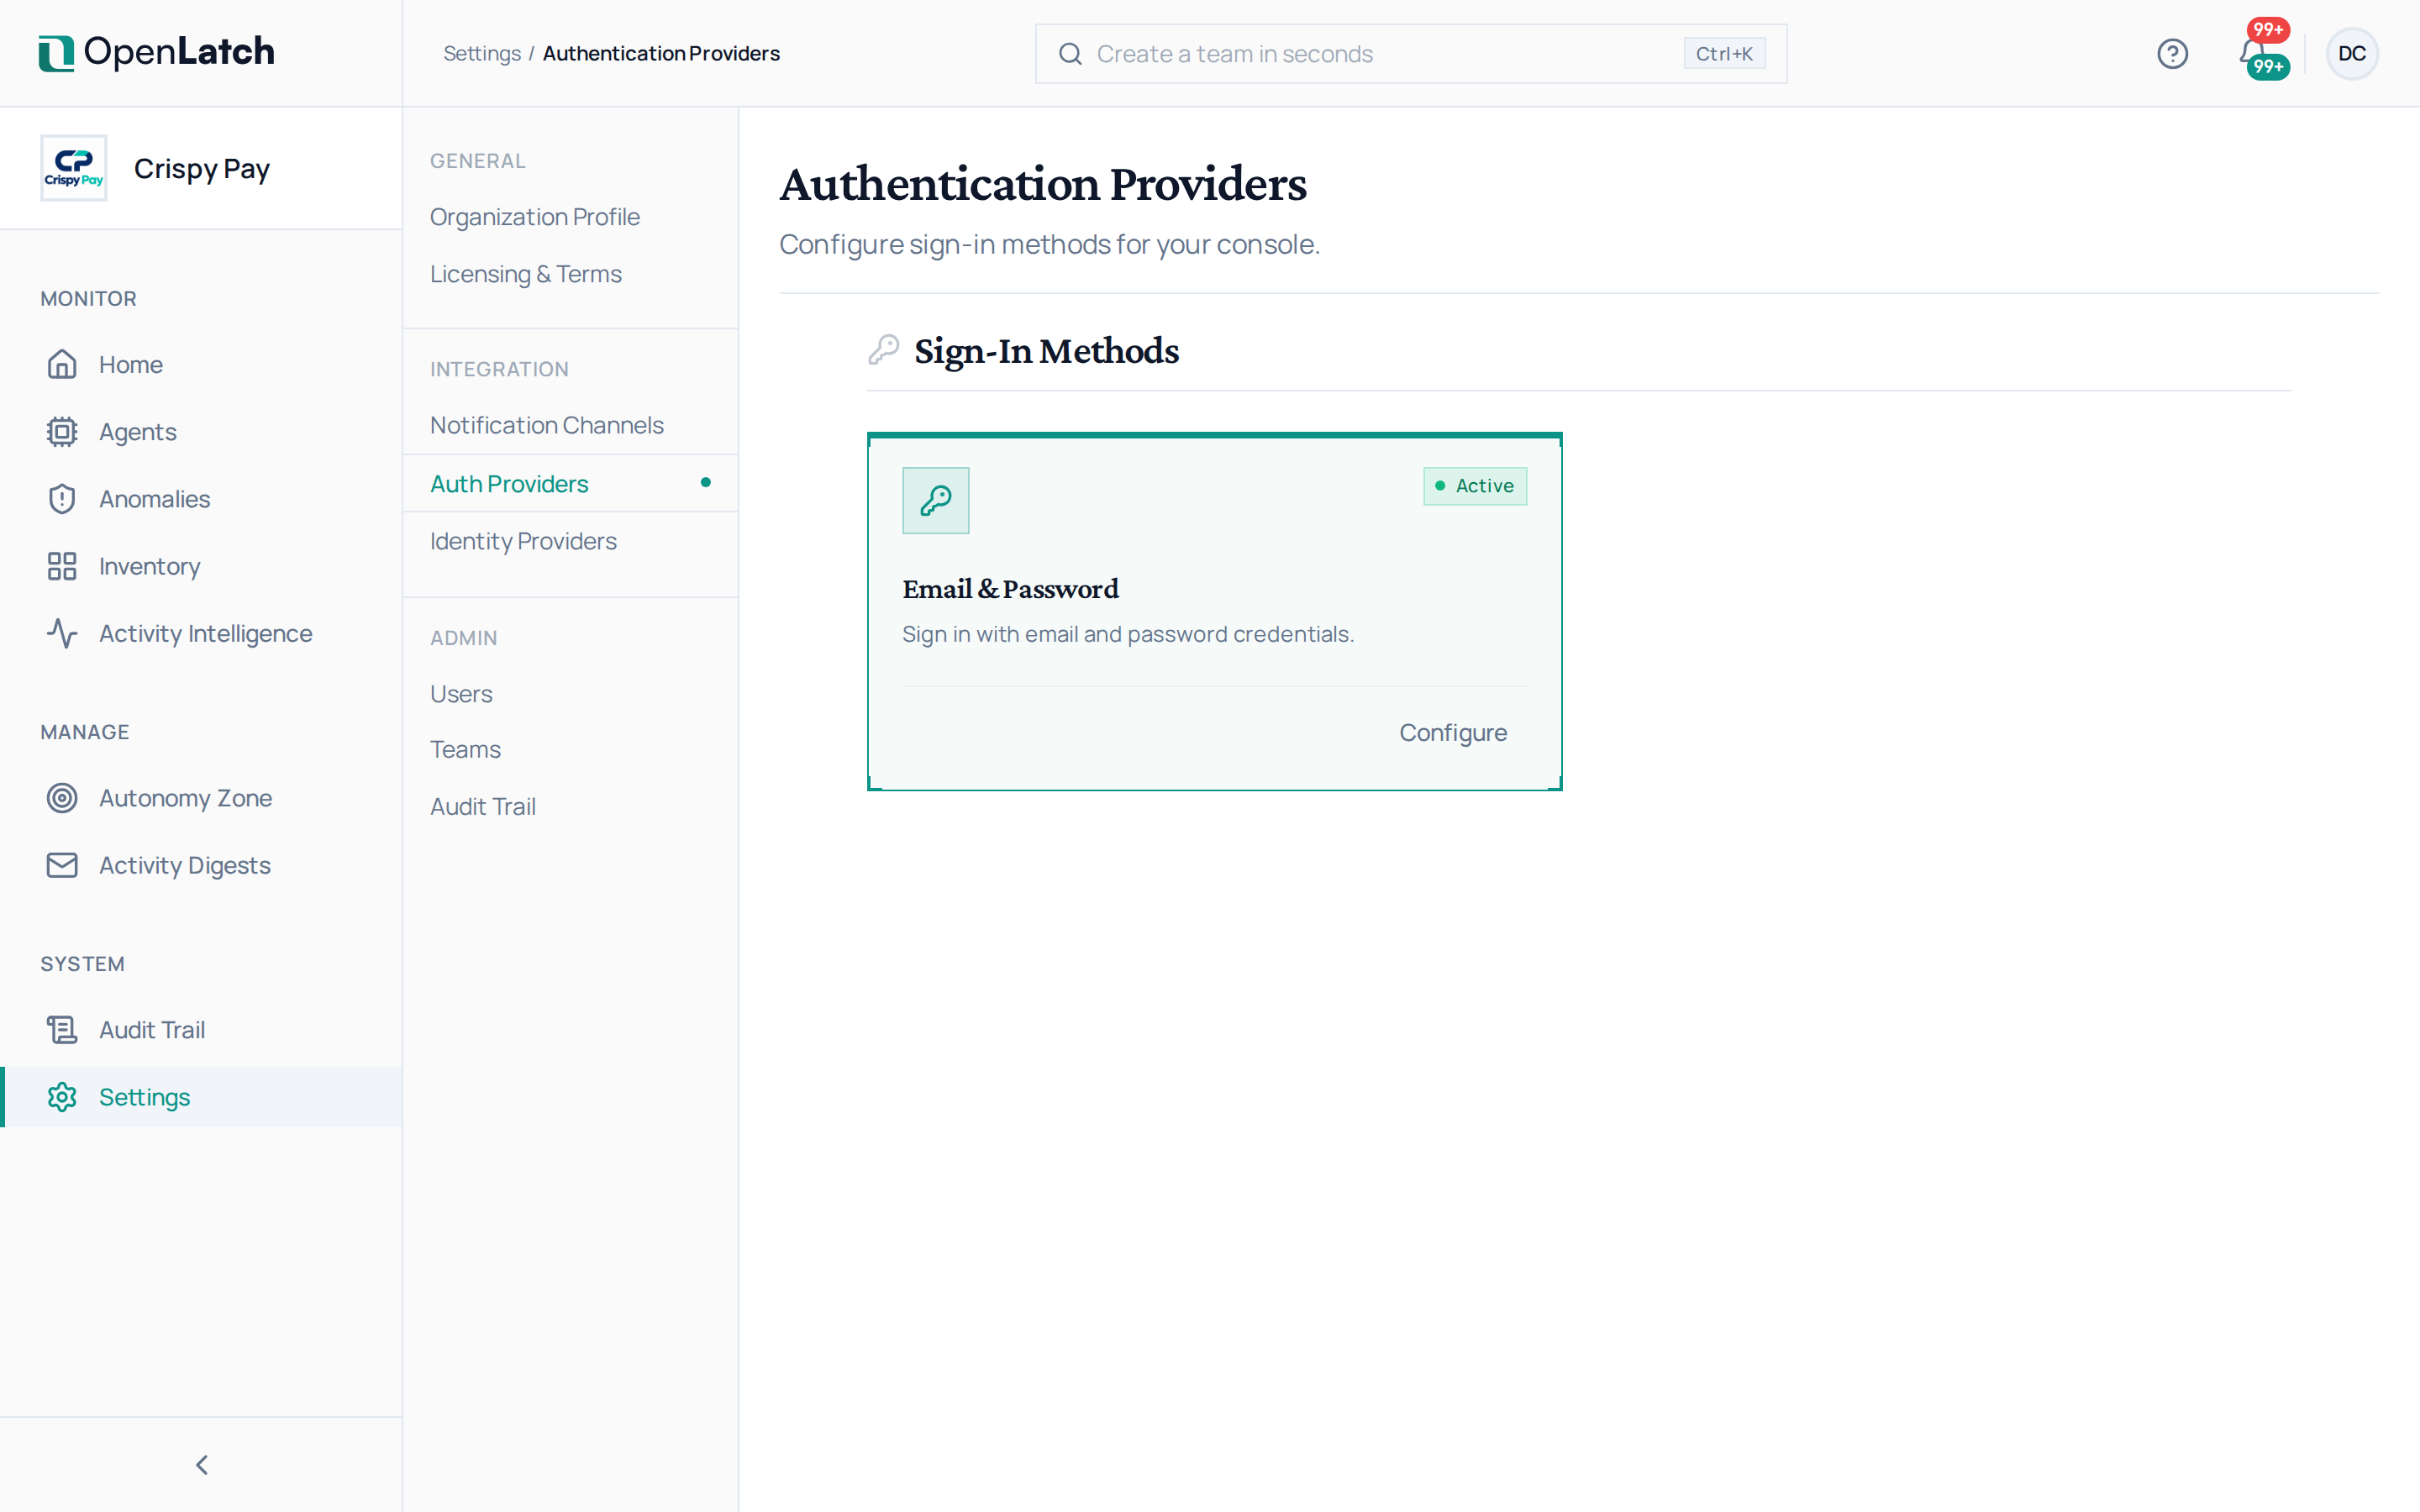
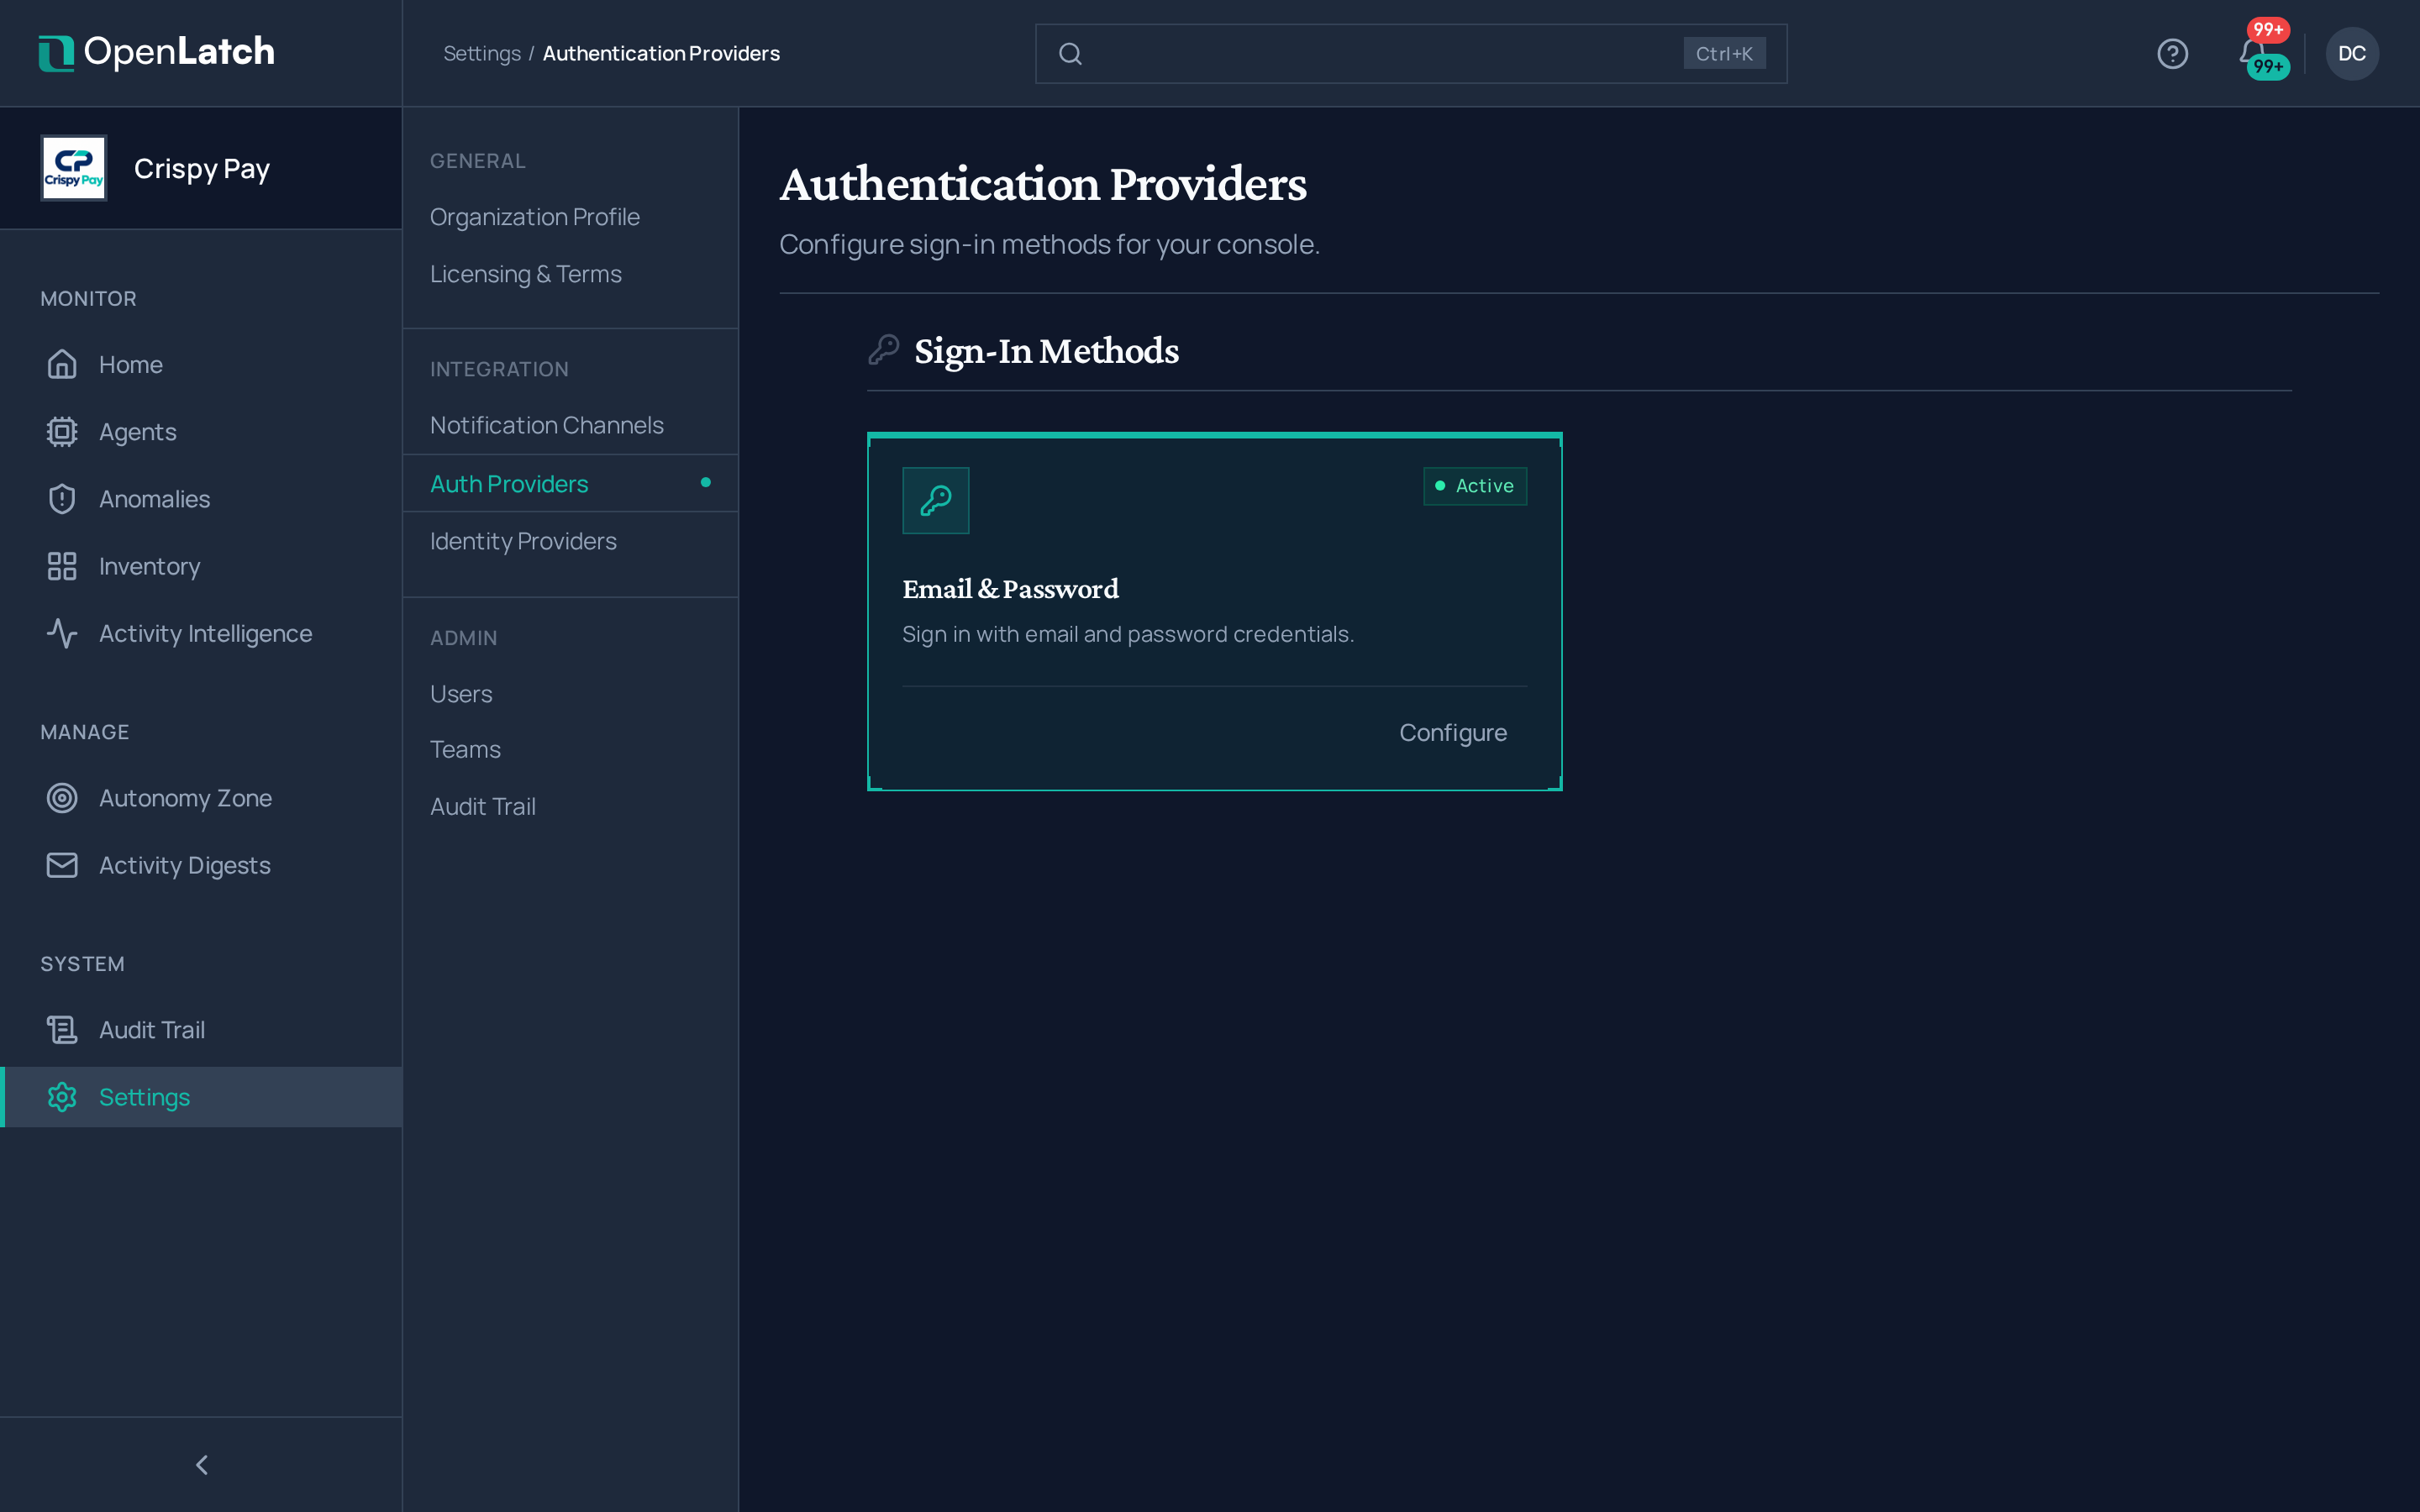
Set up single sign-on covers the SAML settings and the other sign-in methods in more detail.
Invite the team and assign roles
Section titled “Invite the team and assign roles”Four roles run in a strict order of privilege. Every invitee starts as a viewer, so a role is granted deliberately rather than removed after the fact.
| Role | What it can do |
|---|---|
| owner | Everything an admin can do, plus ownership of the organization itself. Keep it with the person accountable for the deployment |
| admin | Identity settings, policies, client credentials, retention and notification channels. Grant it to the few people who run the deployment |
| editor | Policies and agent ownership overrides |
| viewer | Reads agents, executions, decisions and the audit trail. Enough for everyone else, including a developer checking that their own machine enrolled |
-
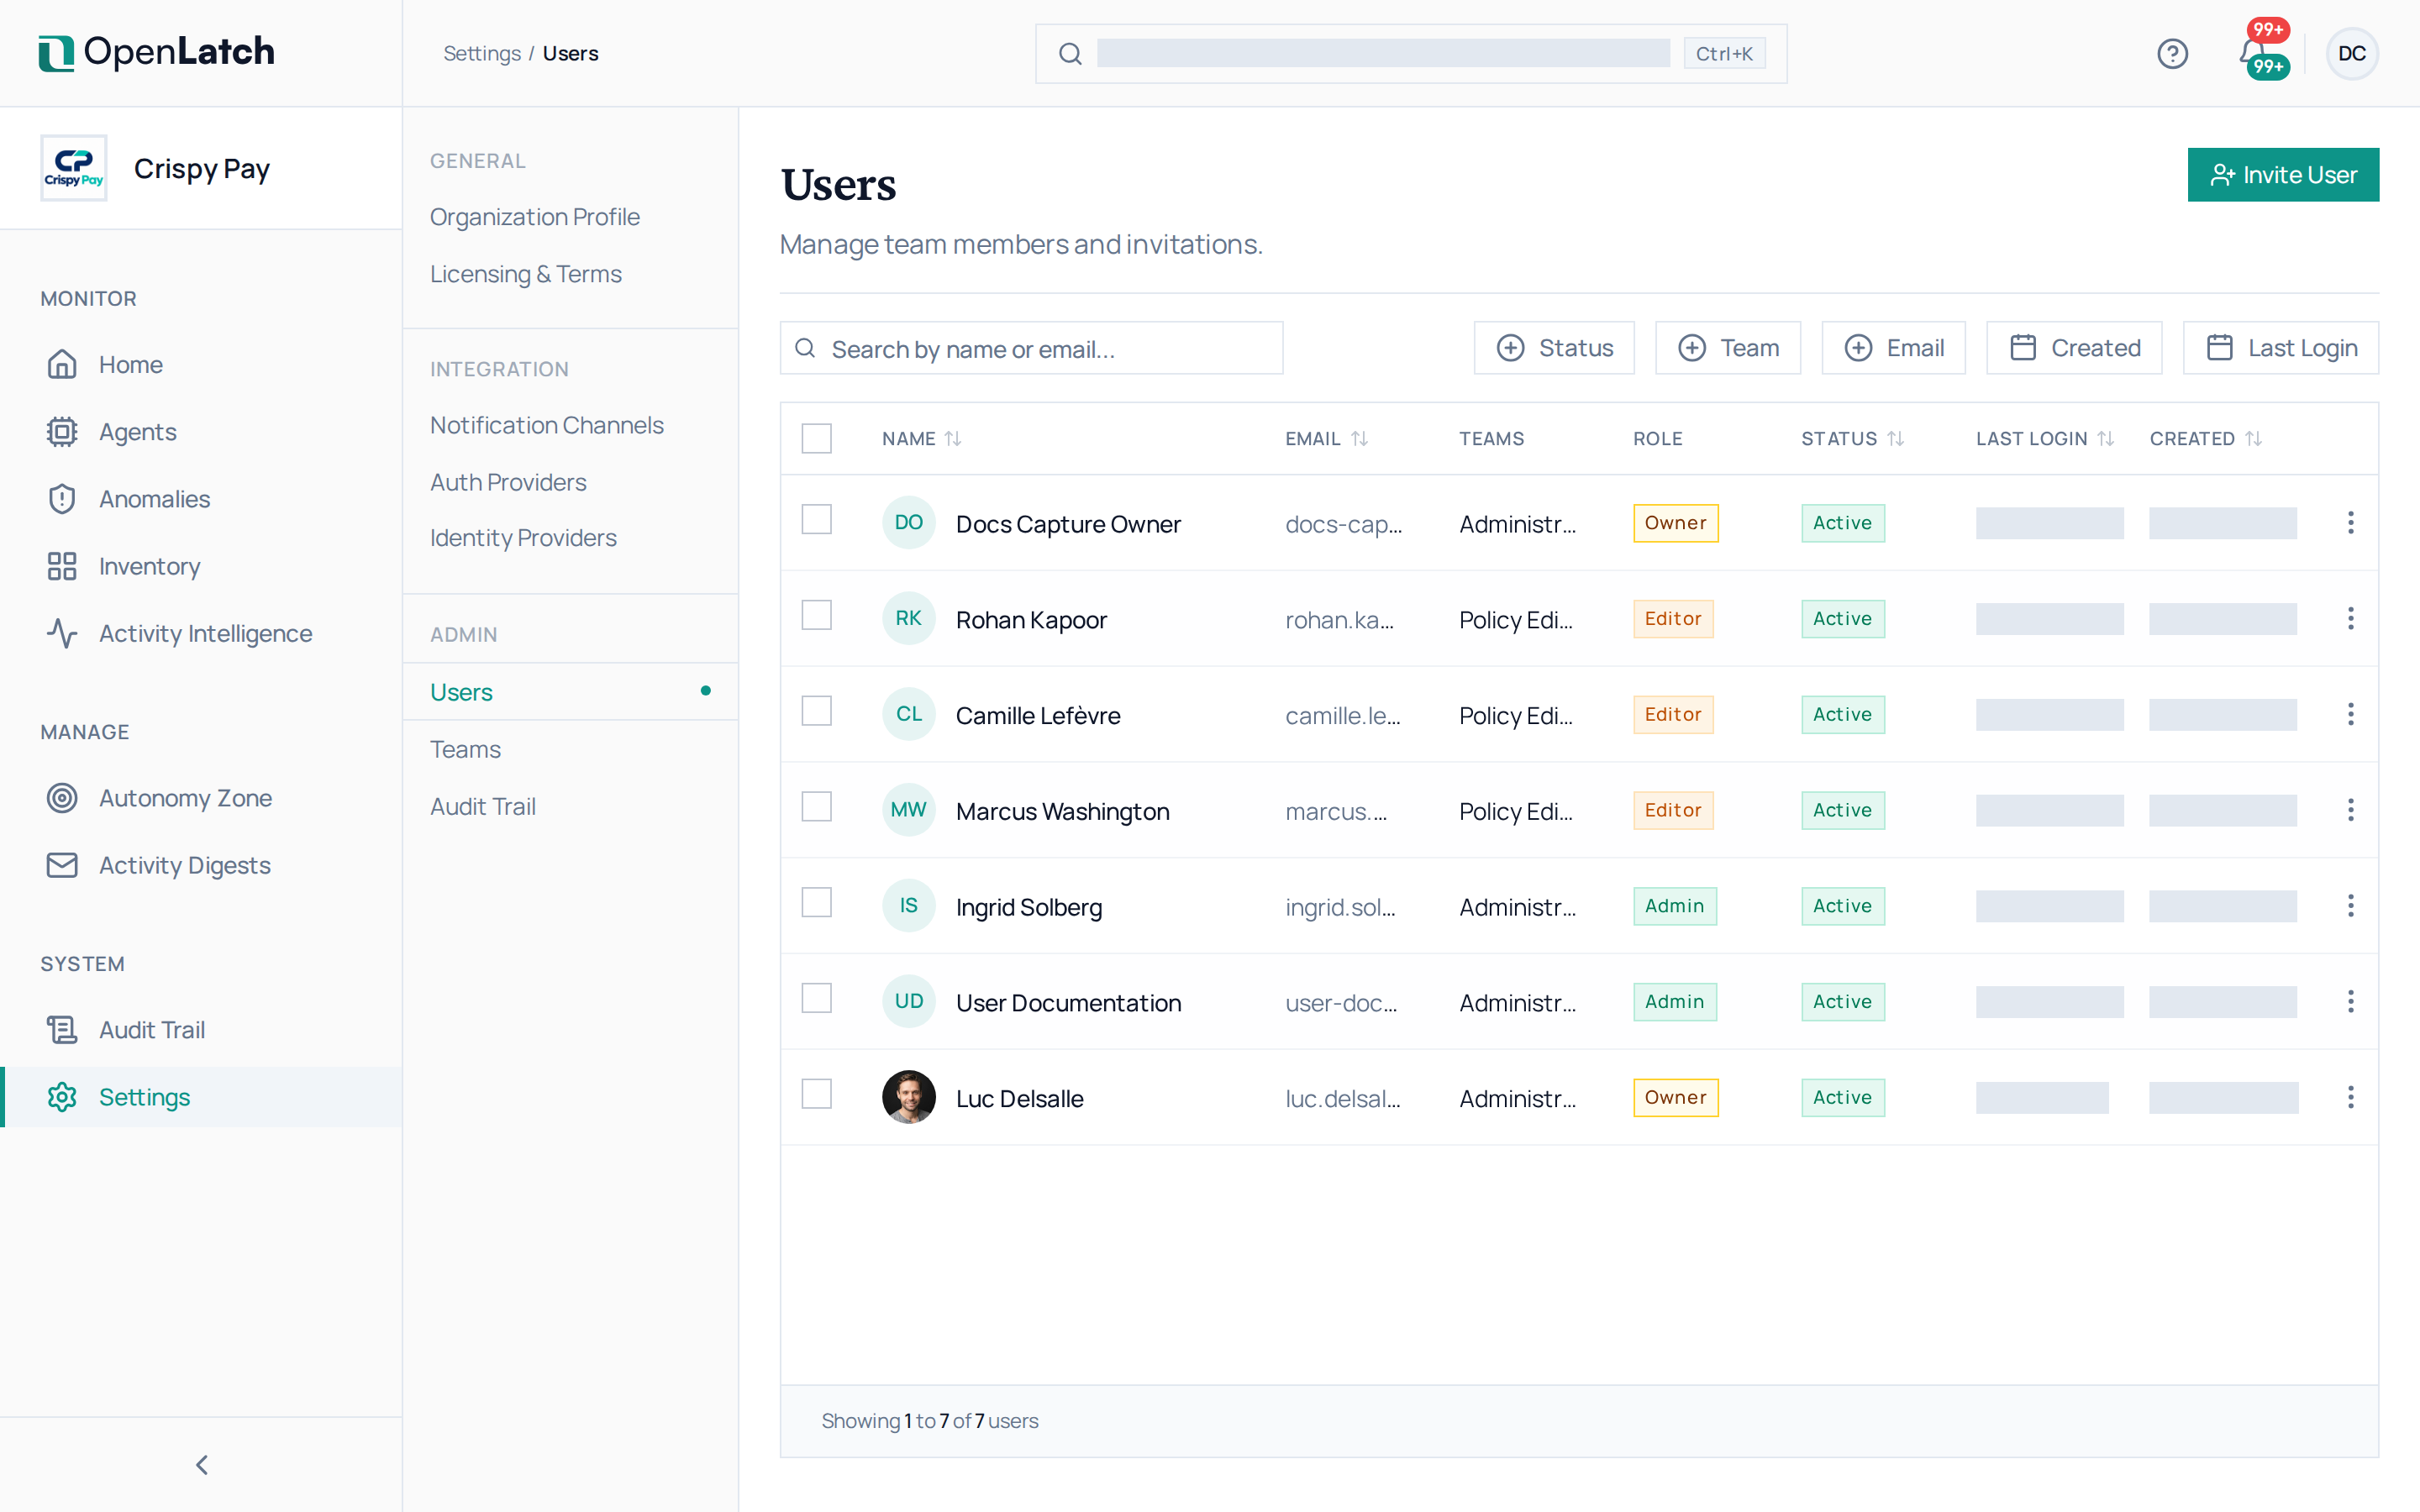
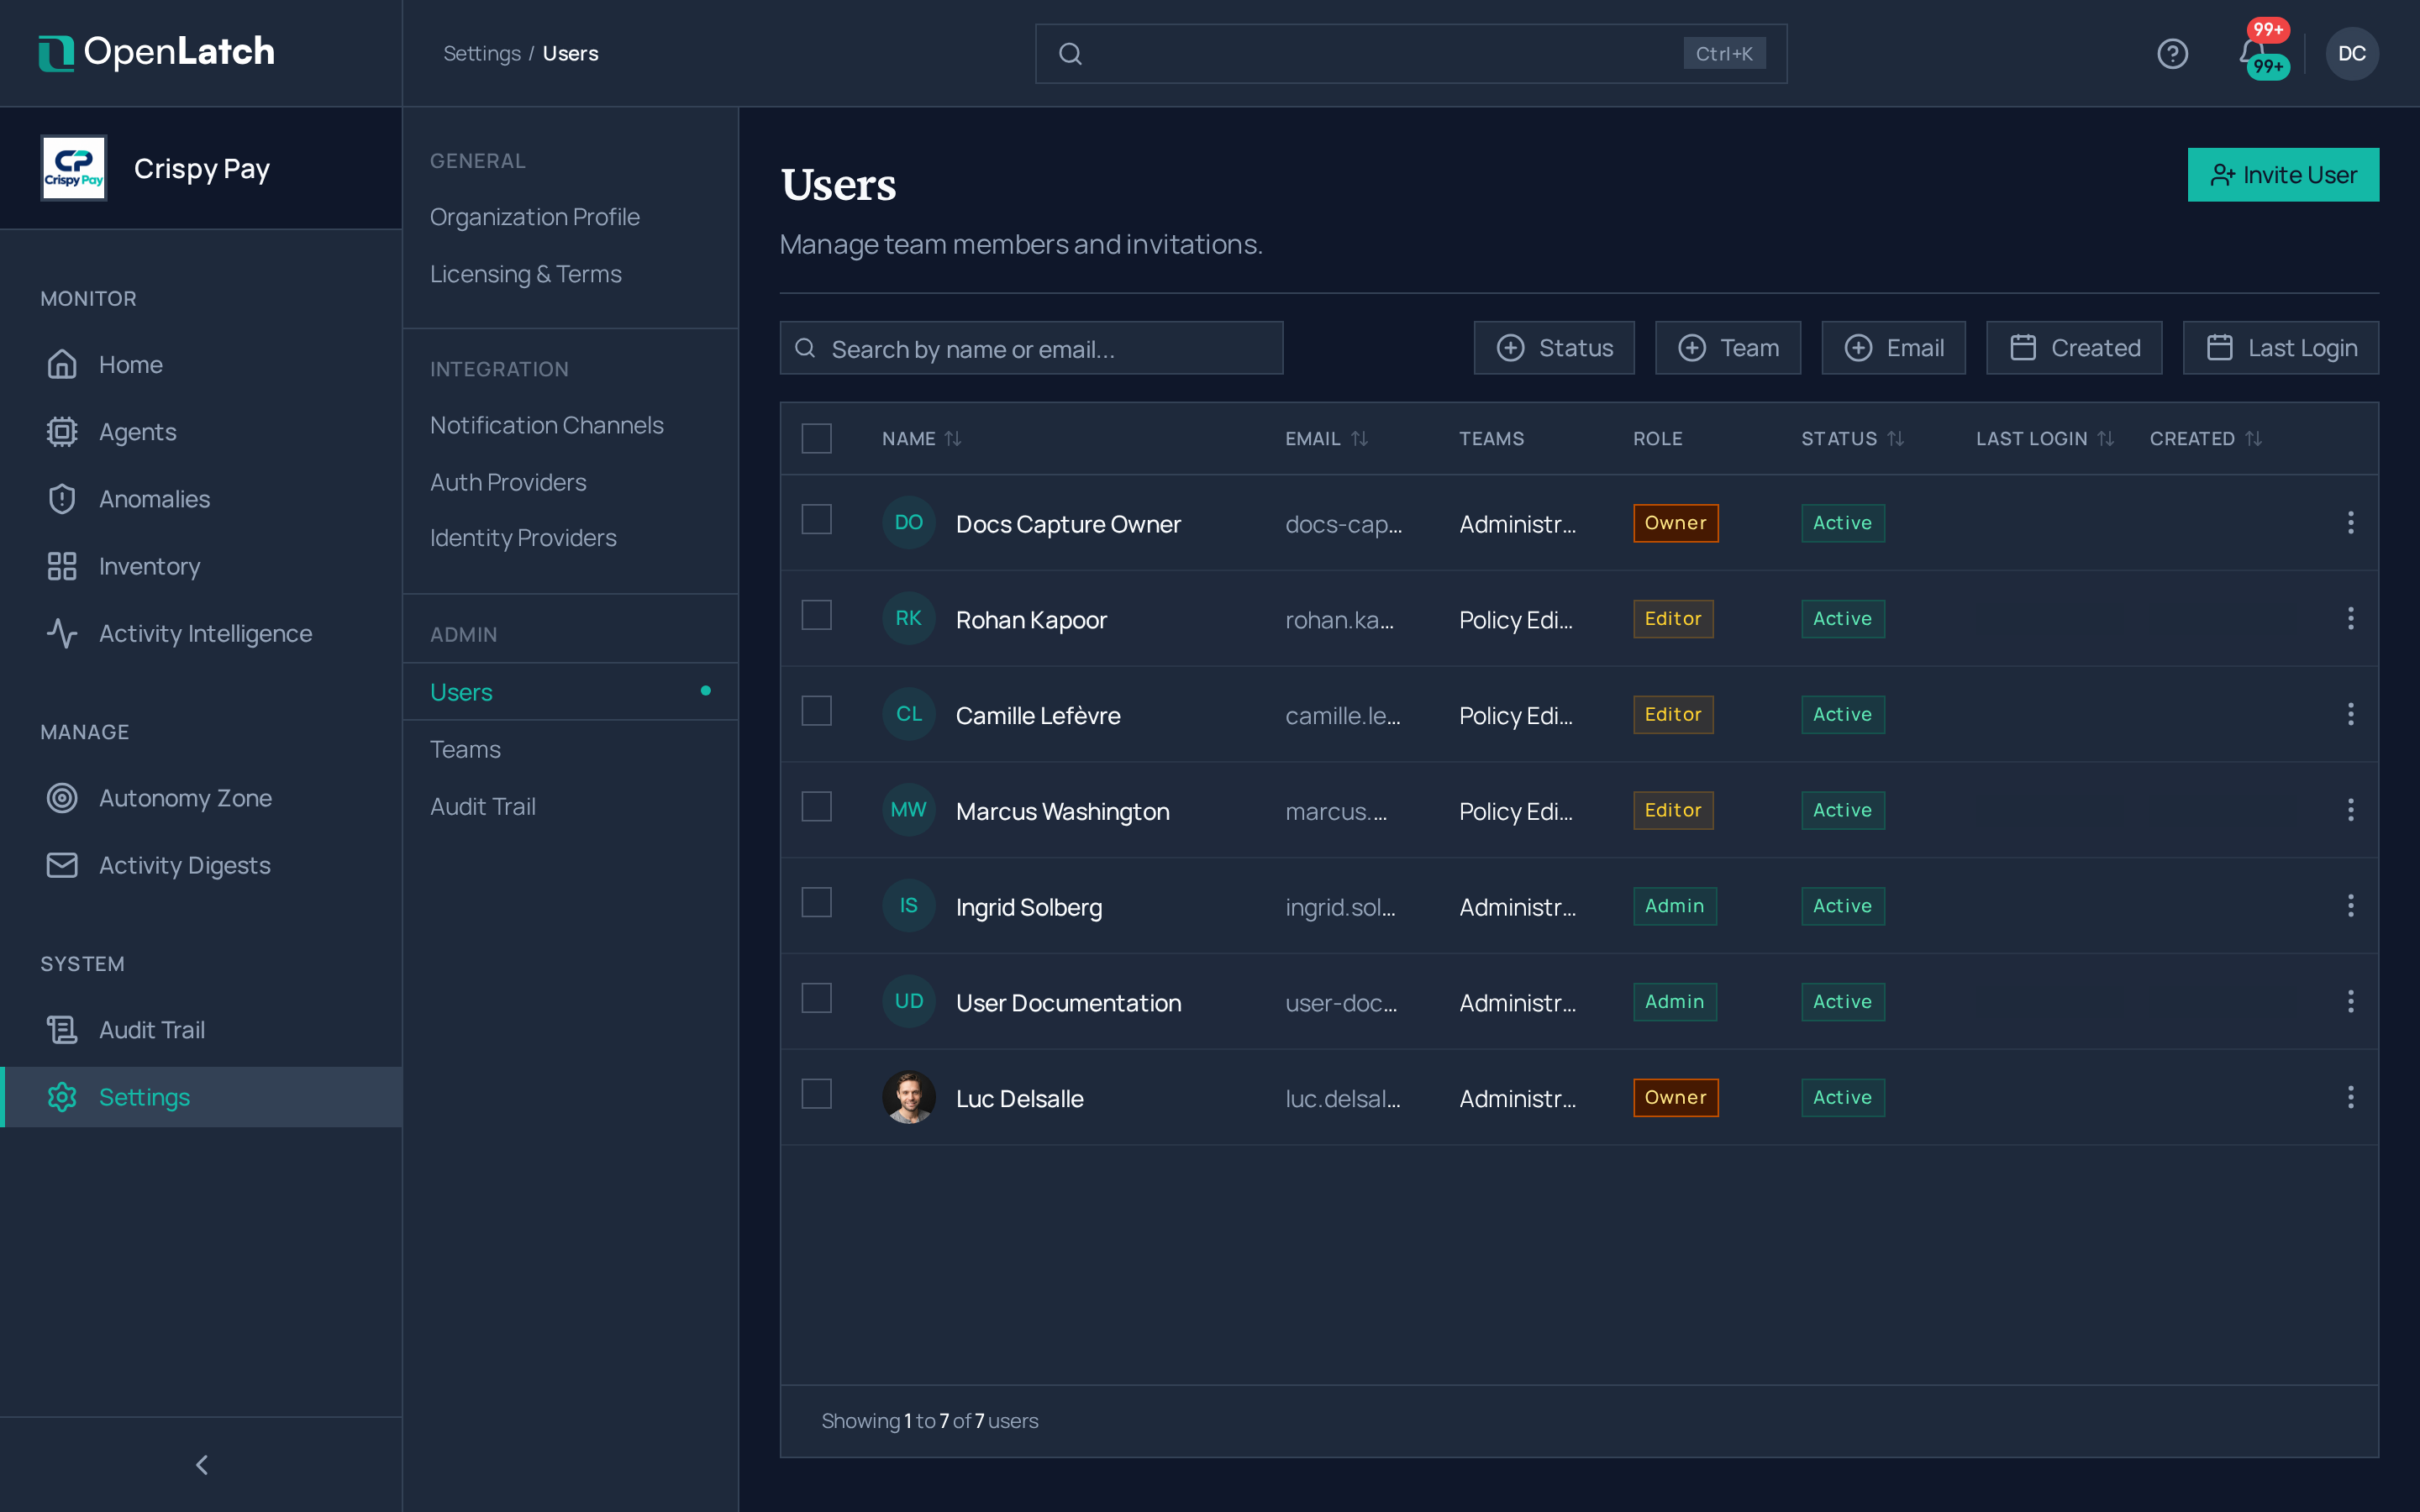
Invite by email address under Settings › Users. Each invitation produces a registration link tied to that address. Invite the people running the rollout, not the whole engineering organization.
Expected: each invitee appears in the user list as pending, with the viewer role.
-
Raise the roles that need raising. Grant admin only where identity settings, credentials or retention must change. Grant editor to whoever maintains policies and the agent record. Leave the rest at viewer.
Connect a directory for owner lookup
Section titled “Connect a directory for owner lookup”This step is optional, and you can do it after the first machines are enrolled. A directory connection resolves the owner of each connected agent, so the agent record shows a person rather than an operating system account name. It is read-only and is not used for sign-in.
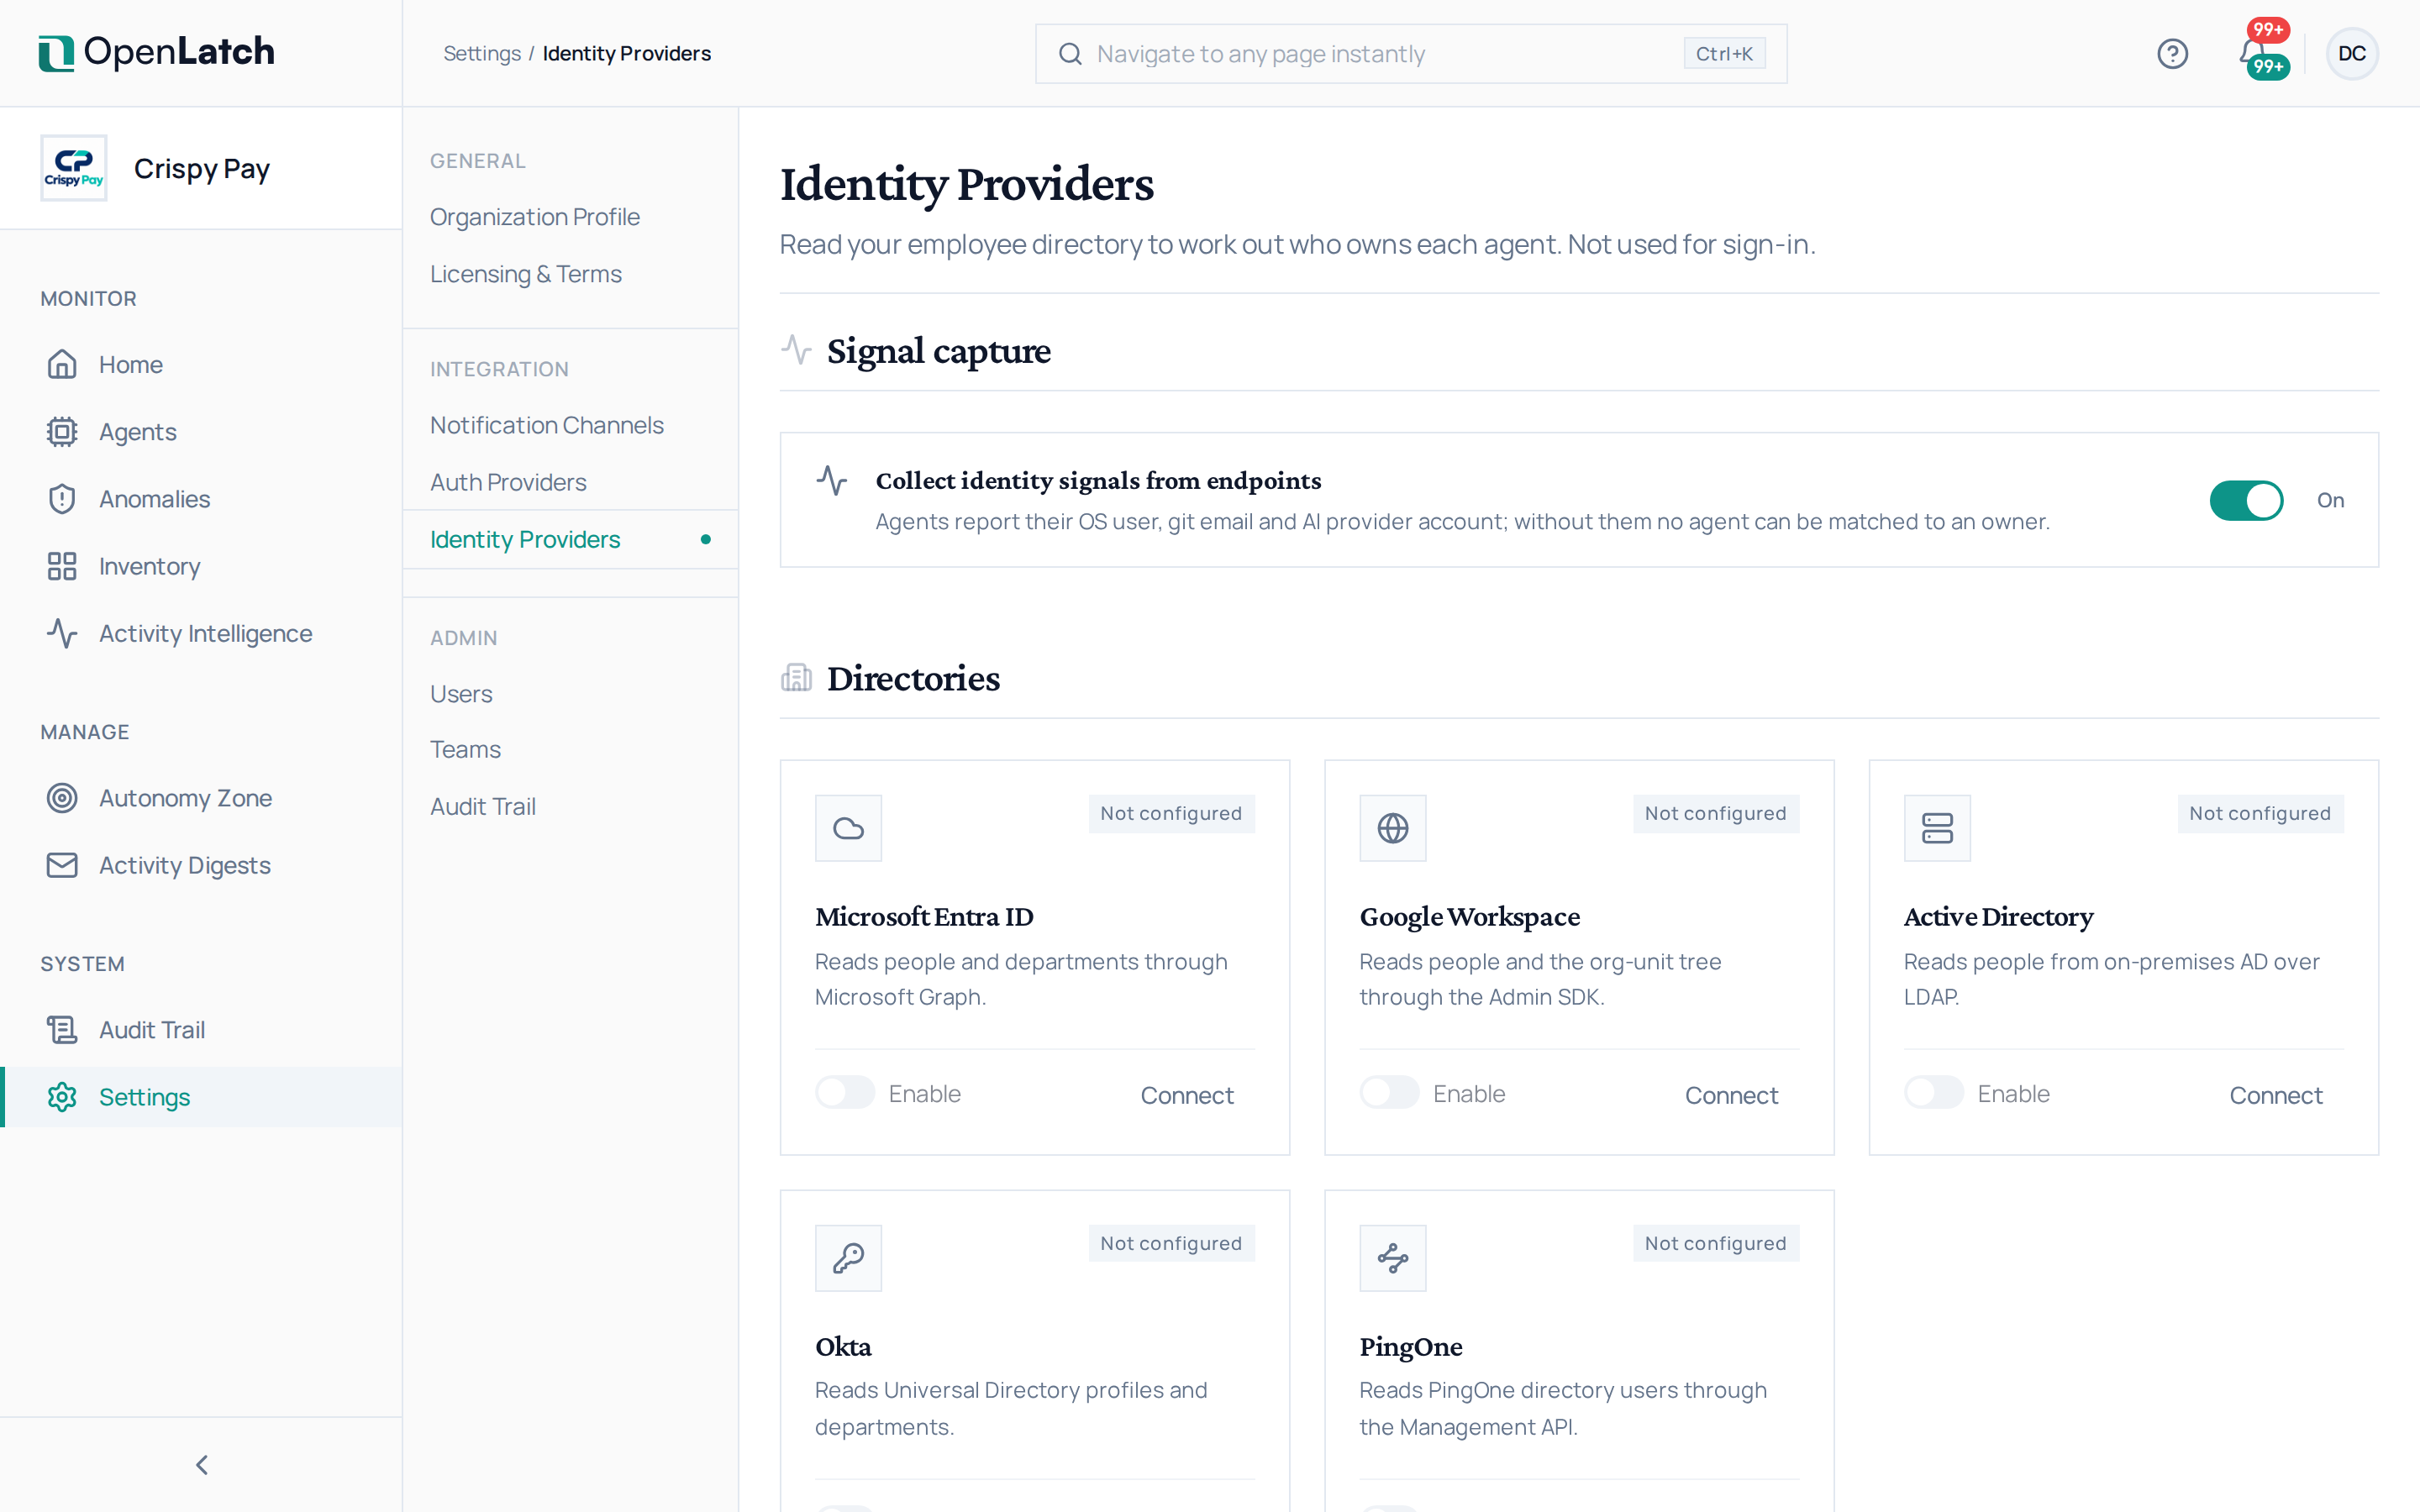
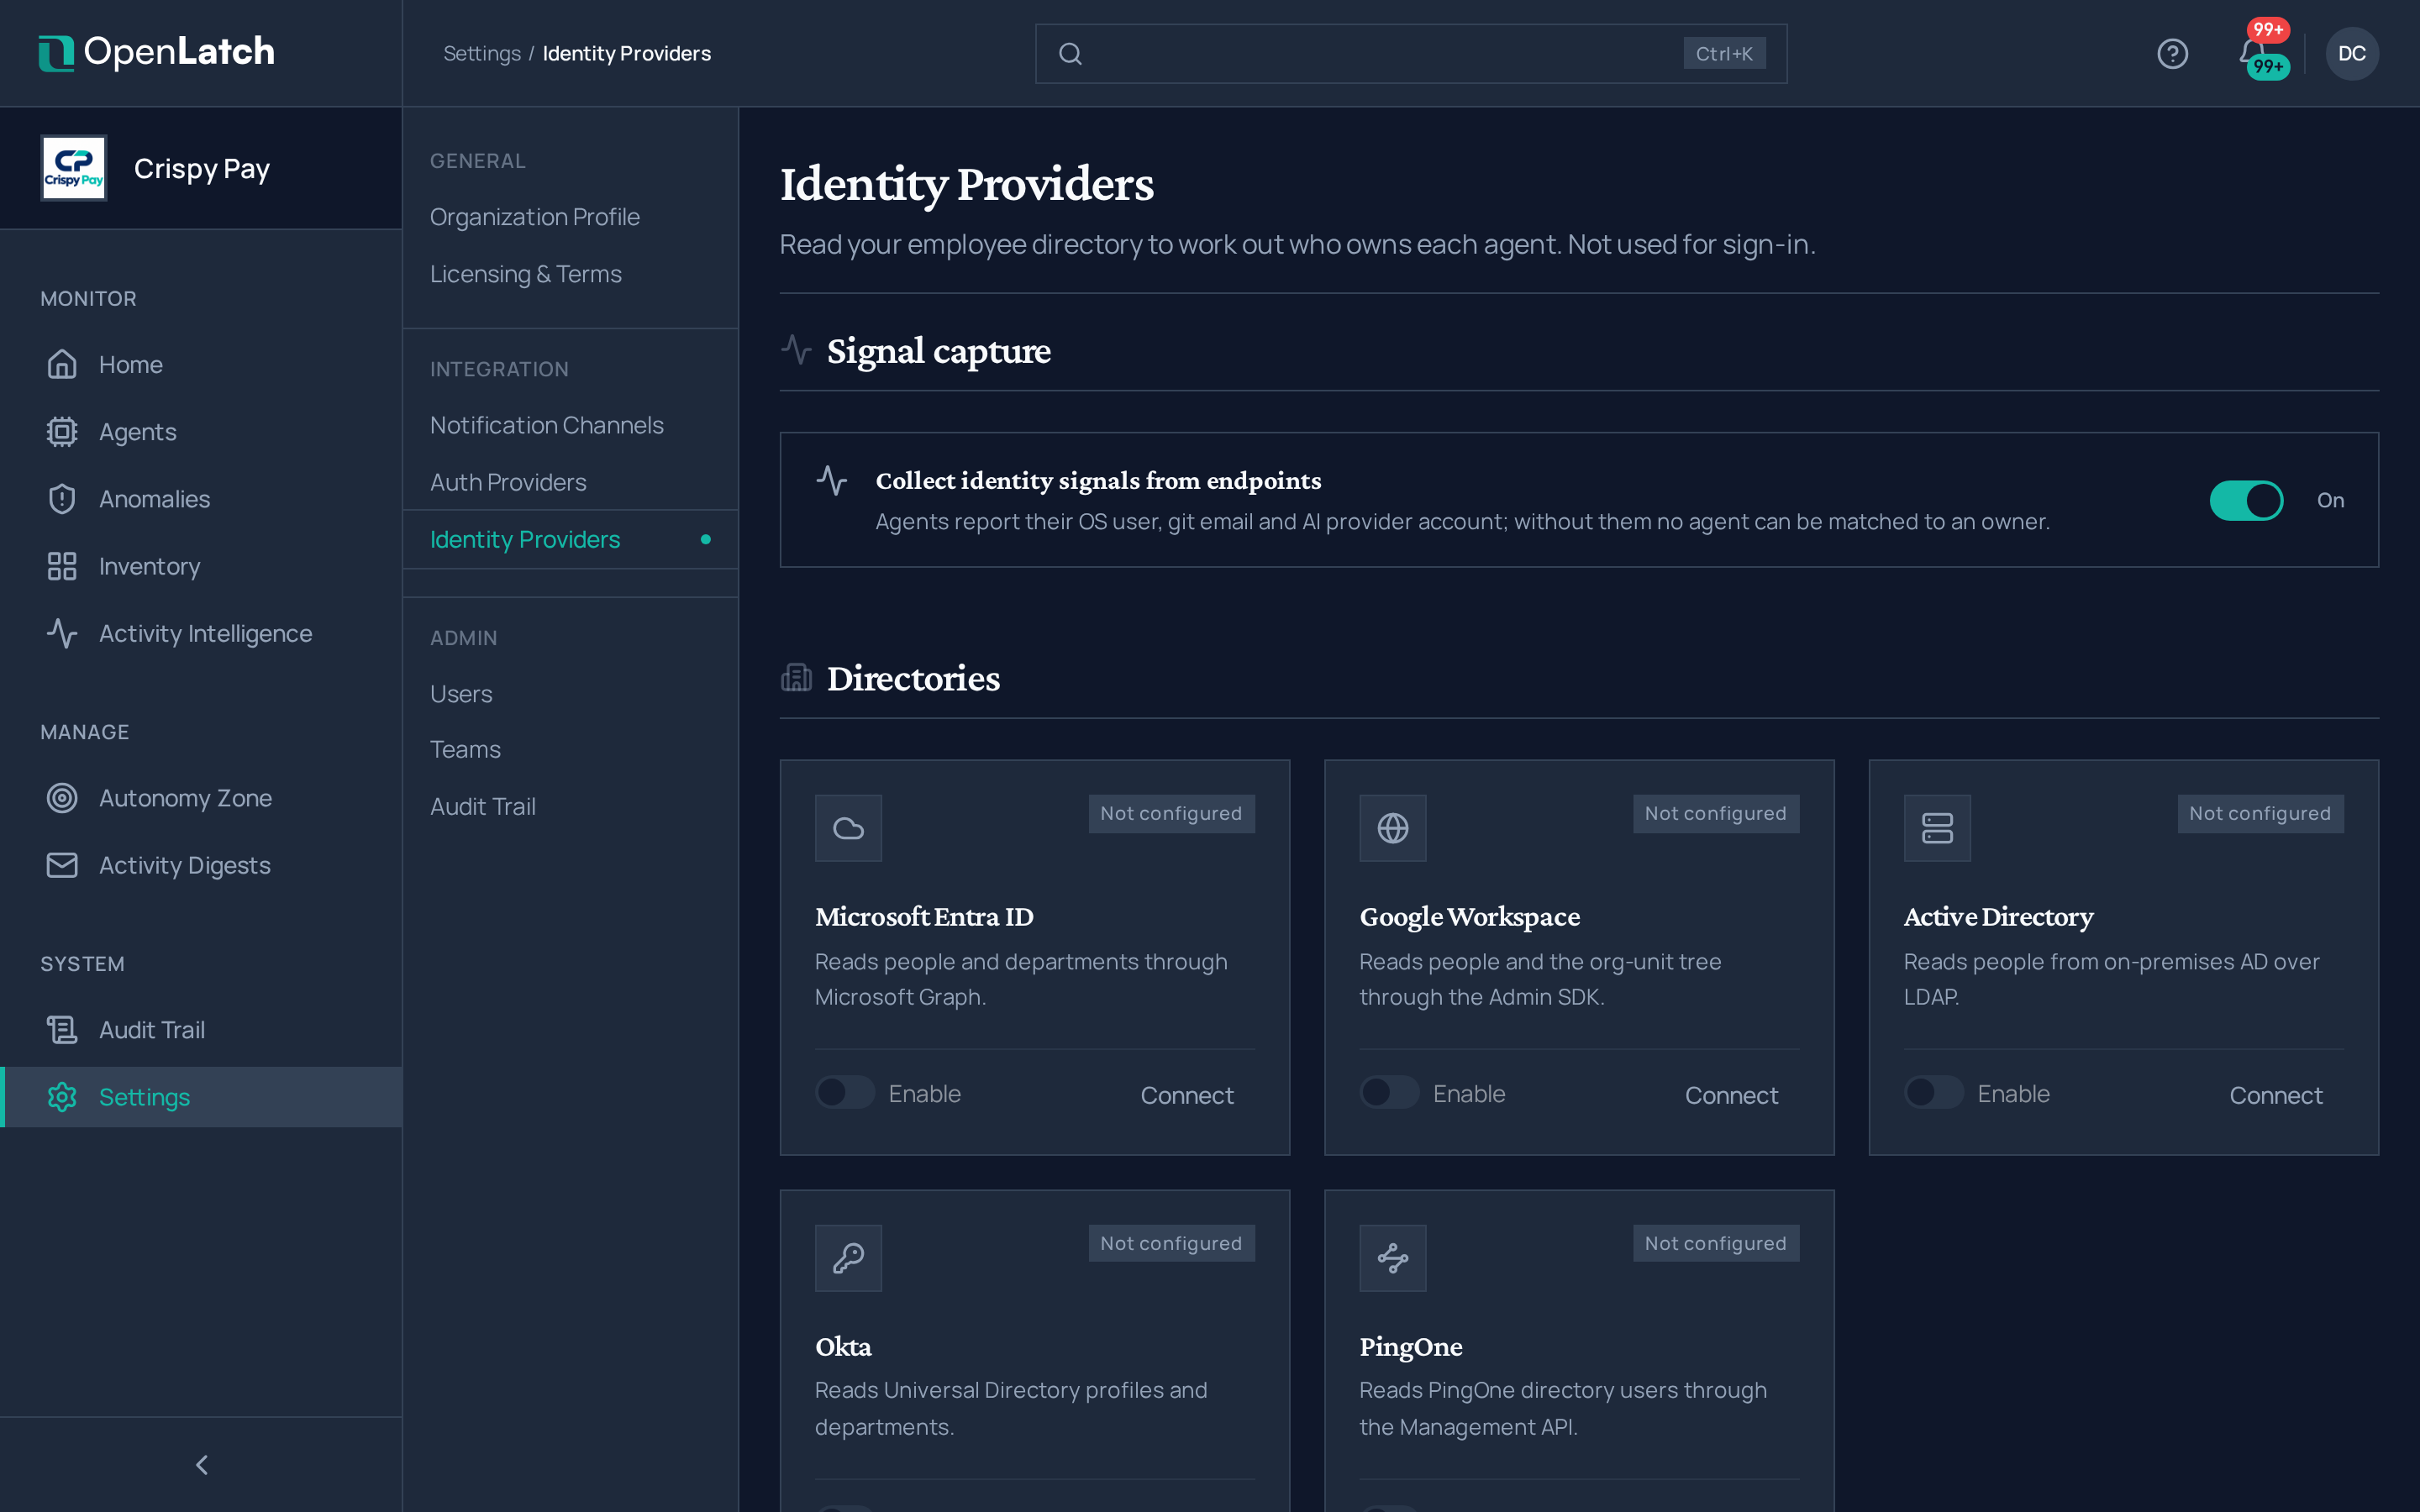
Ownership is matched from two sides, and both must be present. The machines report the signals that identify who is working, and the directory turns those signals into a named person. The signal side is a switch on the same page, Collect identity signals from endpoints, on by default. With it off, no agent can be matched to an owner.
- Open Settings › Identity Providers and connect one directory: Microsoft Entra ID, Google Workspace, Active Directory, Okta or PingOne. Each is a read-only source; none creates users, and none copies the directory into OpenLatch.
- Resolve one person you know is in the directory. An organization with no directory connected is a supported state, and an agent whose owner cannot be resolved is recorded as unattributed rather than guessed.
Set retention and notifications
Section titled “Set retention and notifications”Set these two before the rollout starts; a security review will ask about both.
-
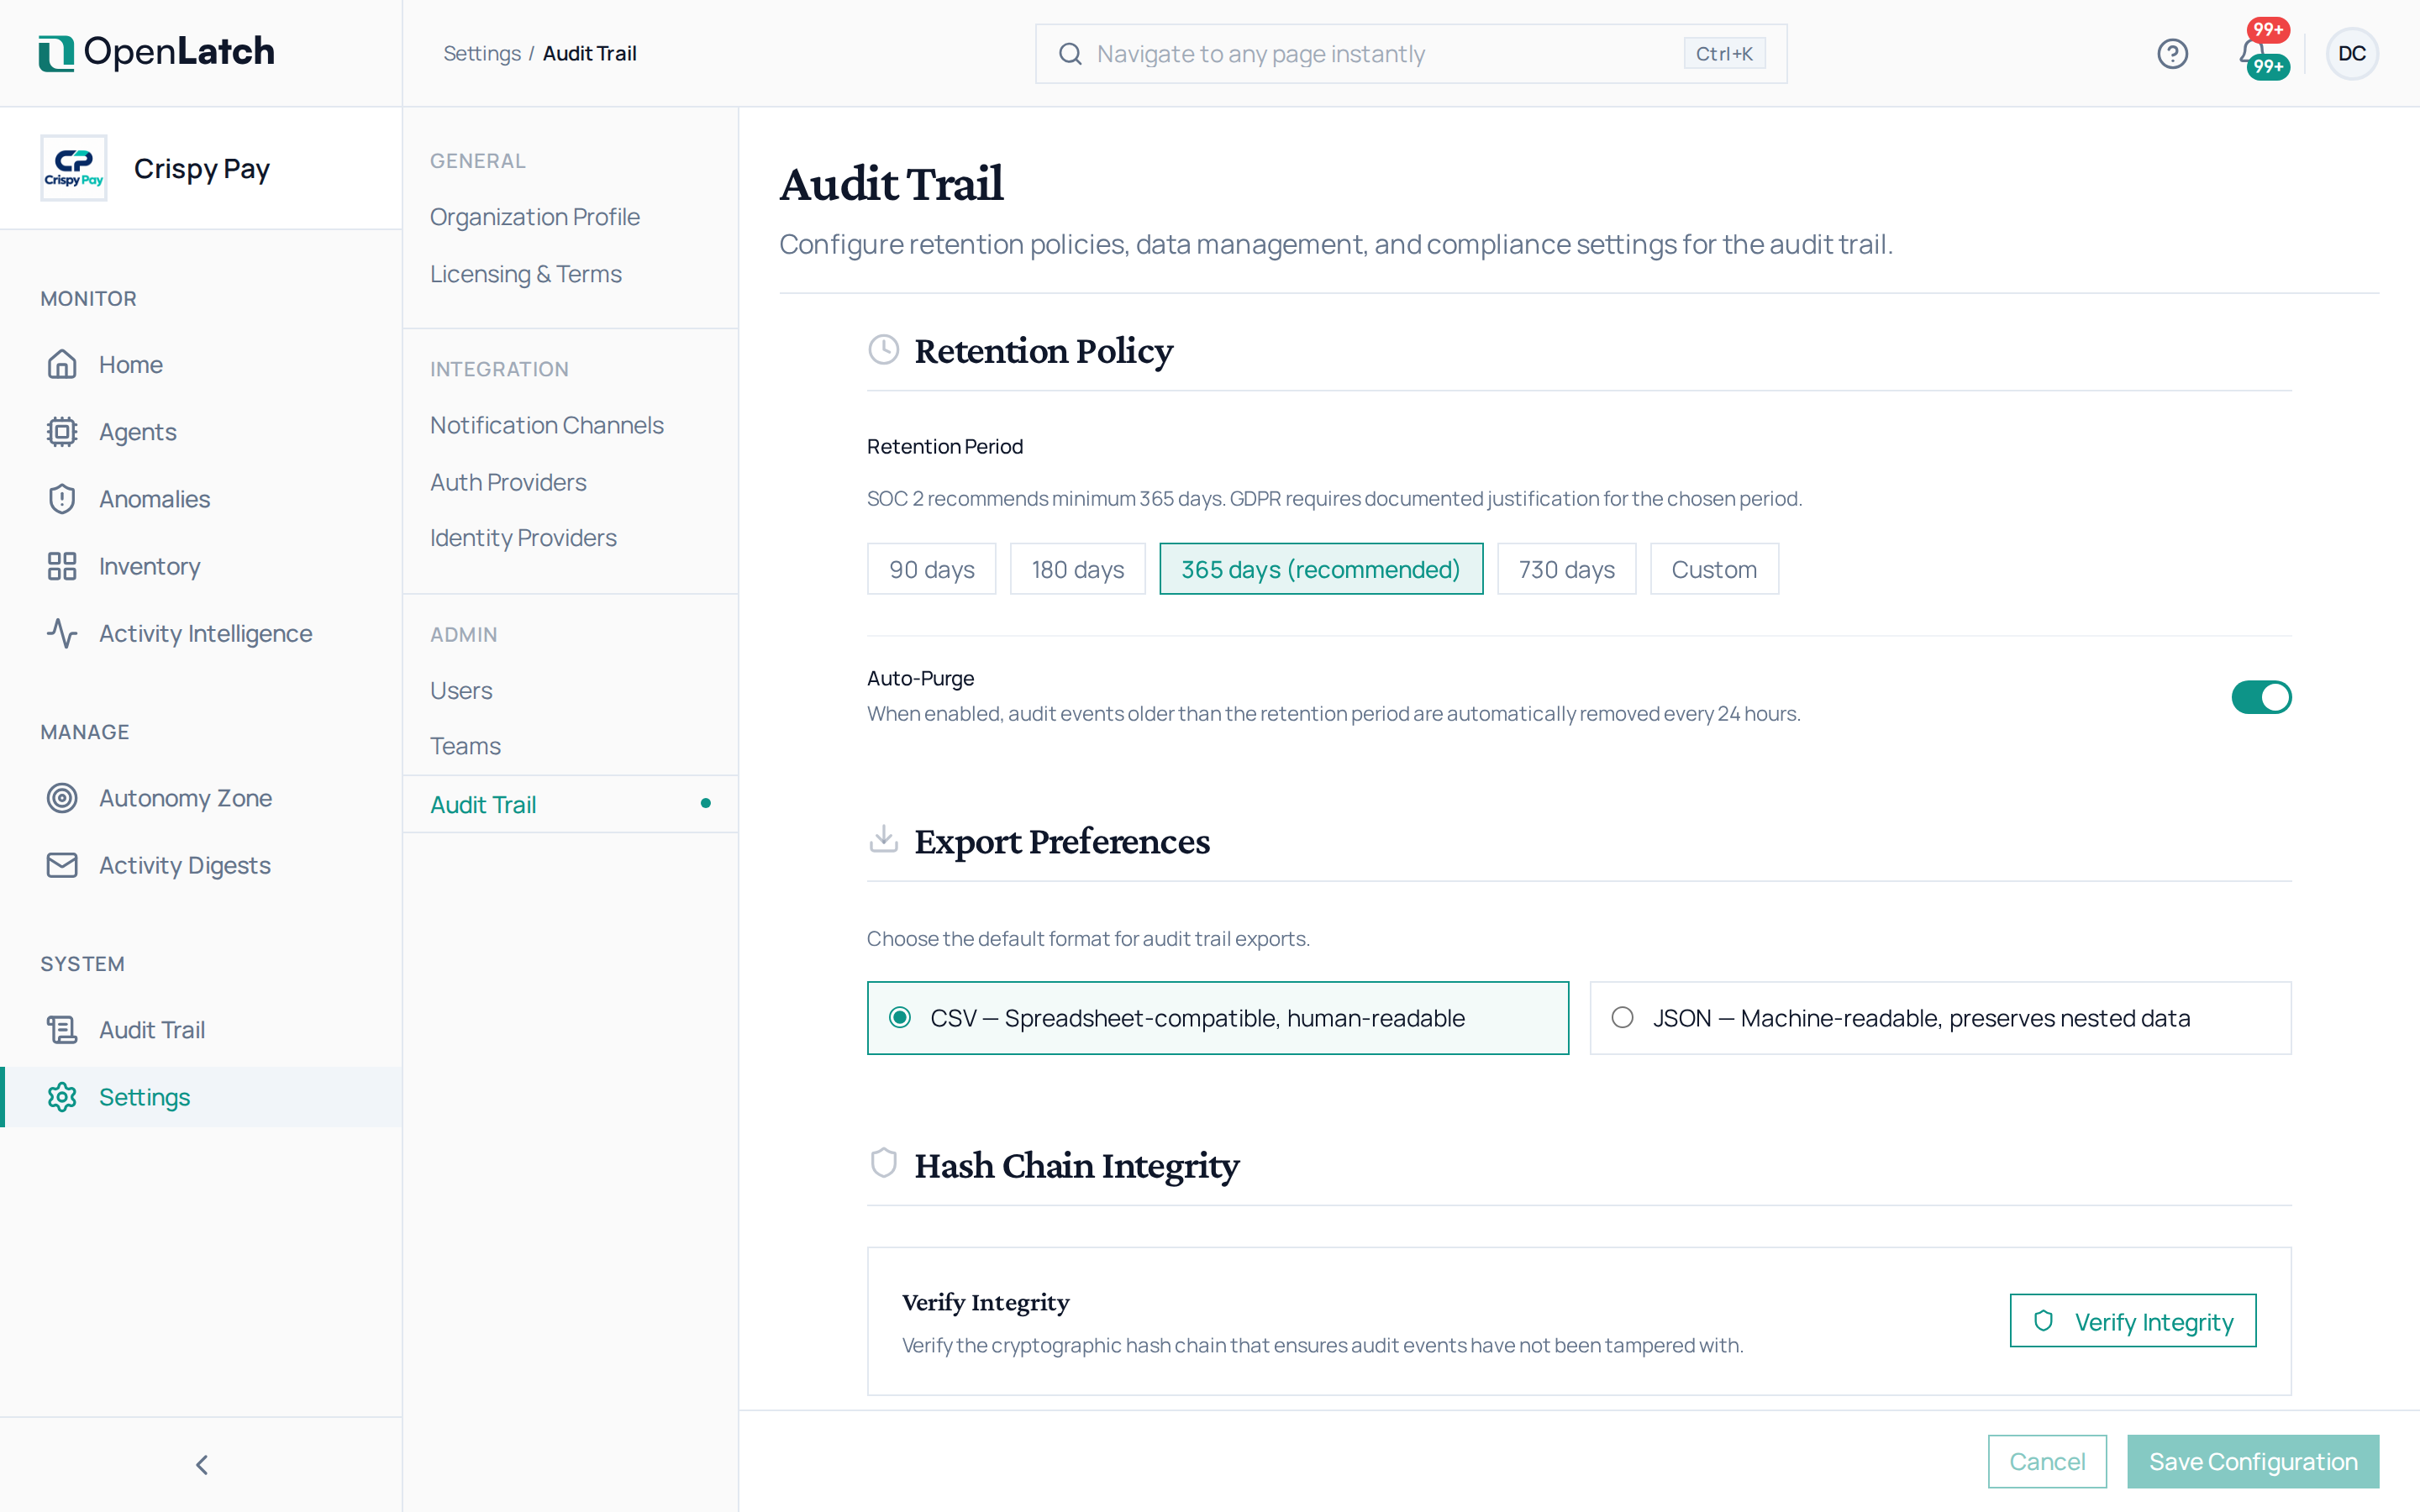
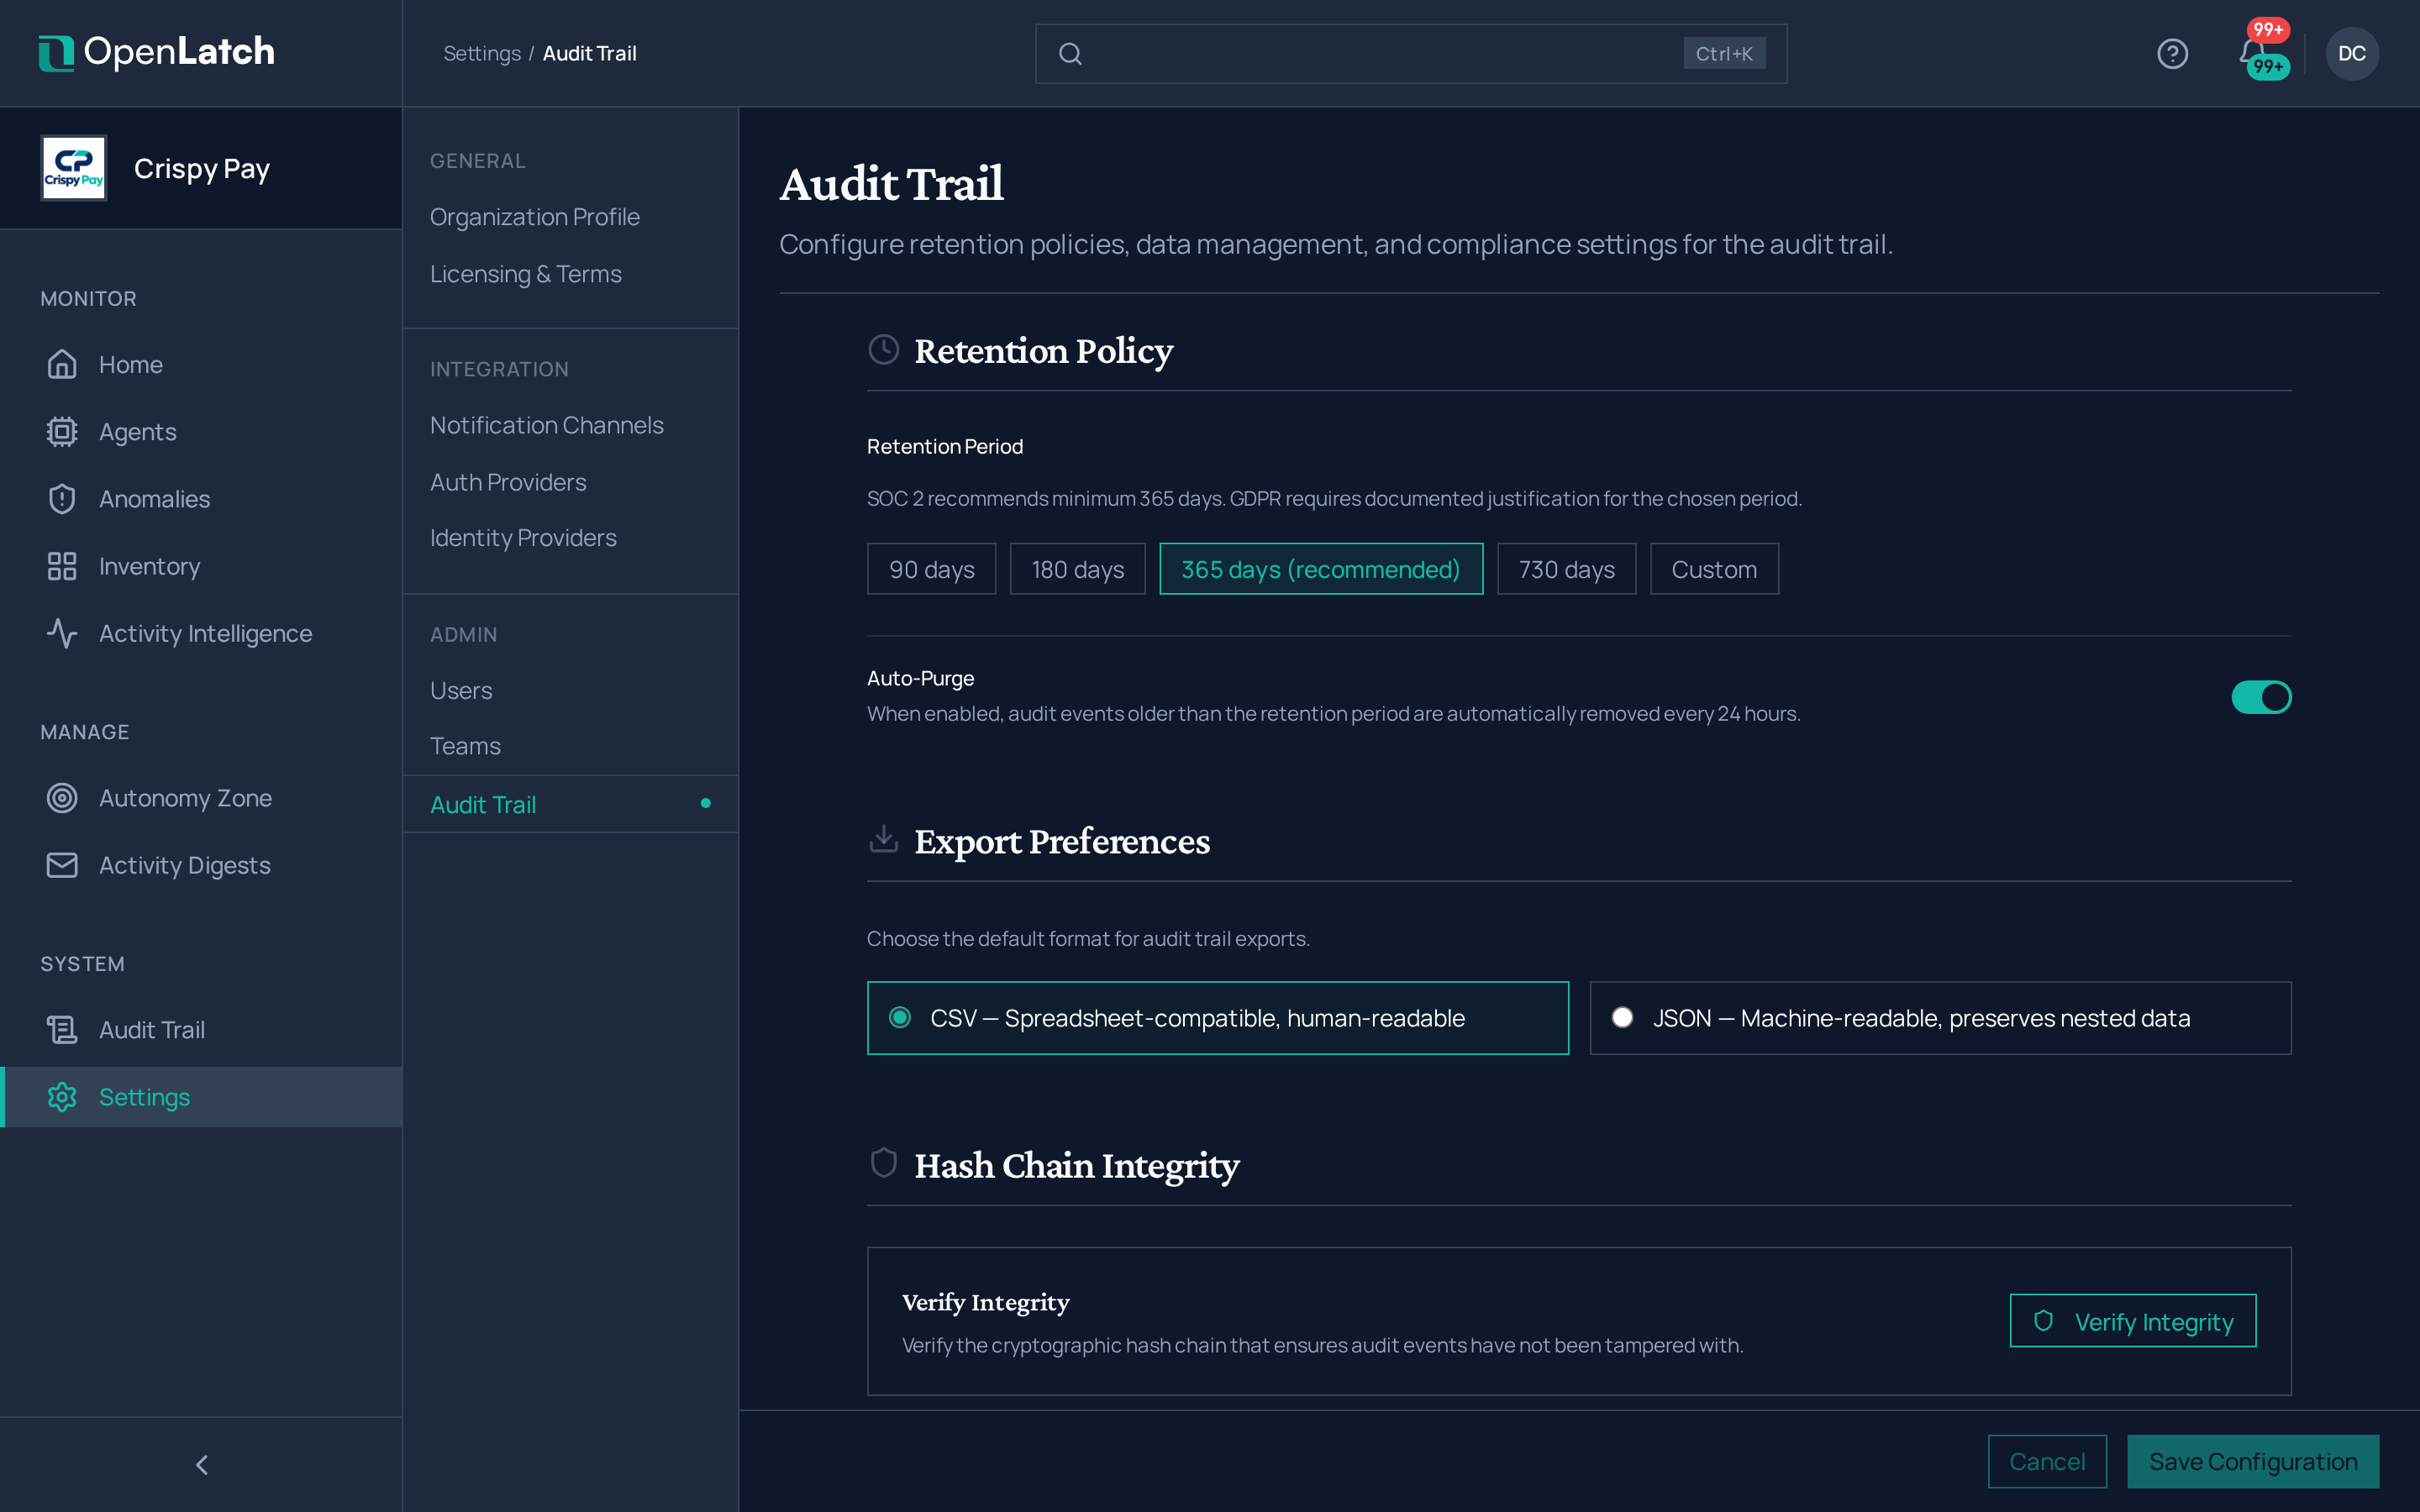
Set the audit trail retention under Settings › Audit Trail. The audit trail is append-only and hash-chained. Choose a retention window, decide on auto-purge, and set the export format your evidence process expects.
Setting Values Retention 90, 180, 365 or 730 days, or a custom window. The console recommends 365 Auto-purge On or off. With it on, records past the retention window are removed every 24 hours Export CSV or JSON -
Add a notification channel under Settings › Notification Channels. Point it at the channel the rollout already works in, such as a Slack channel or an HTTPS webhook, and send a test.
Expected: the test delivery arrives.
Create the client credential
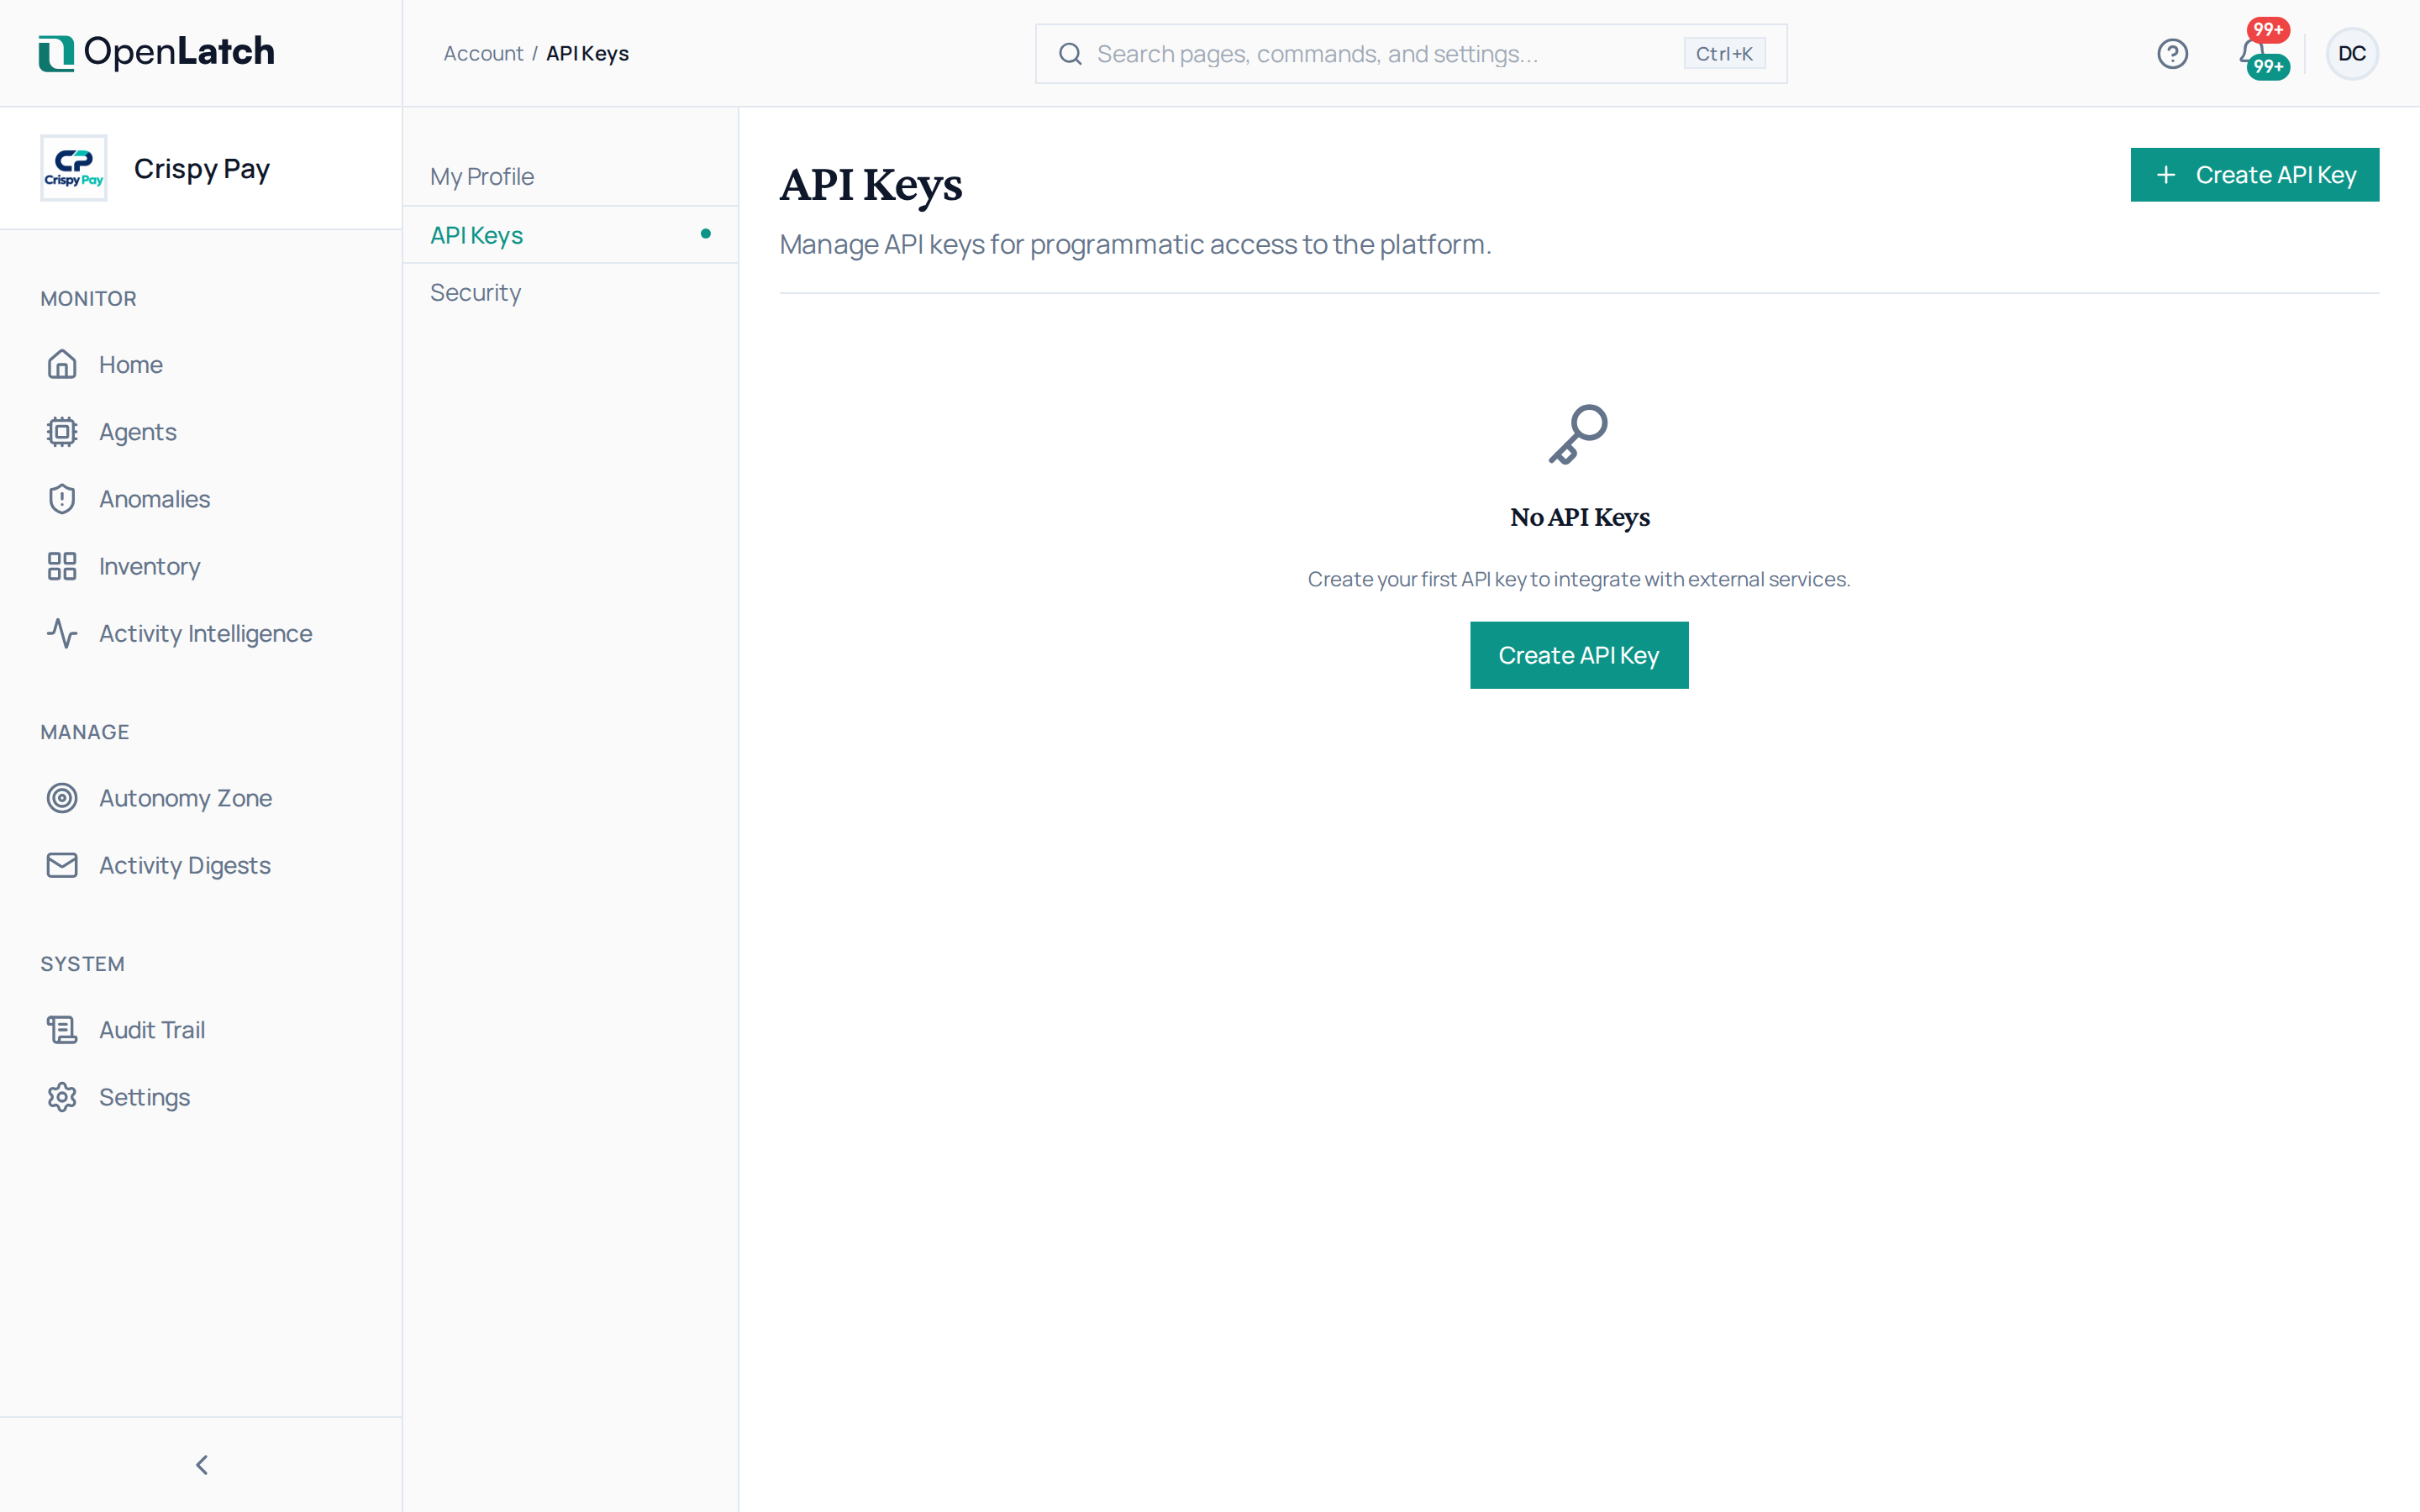
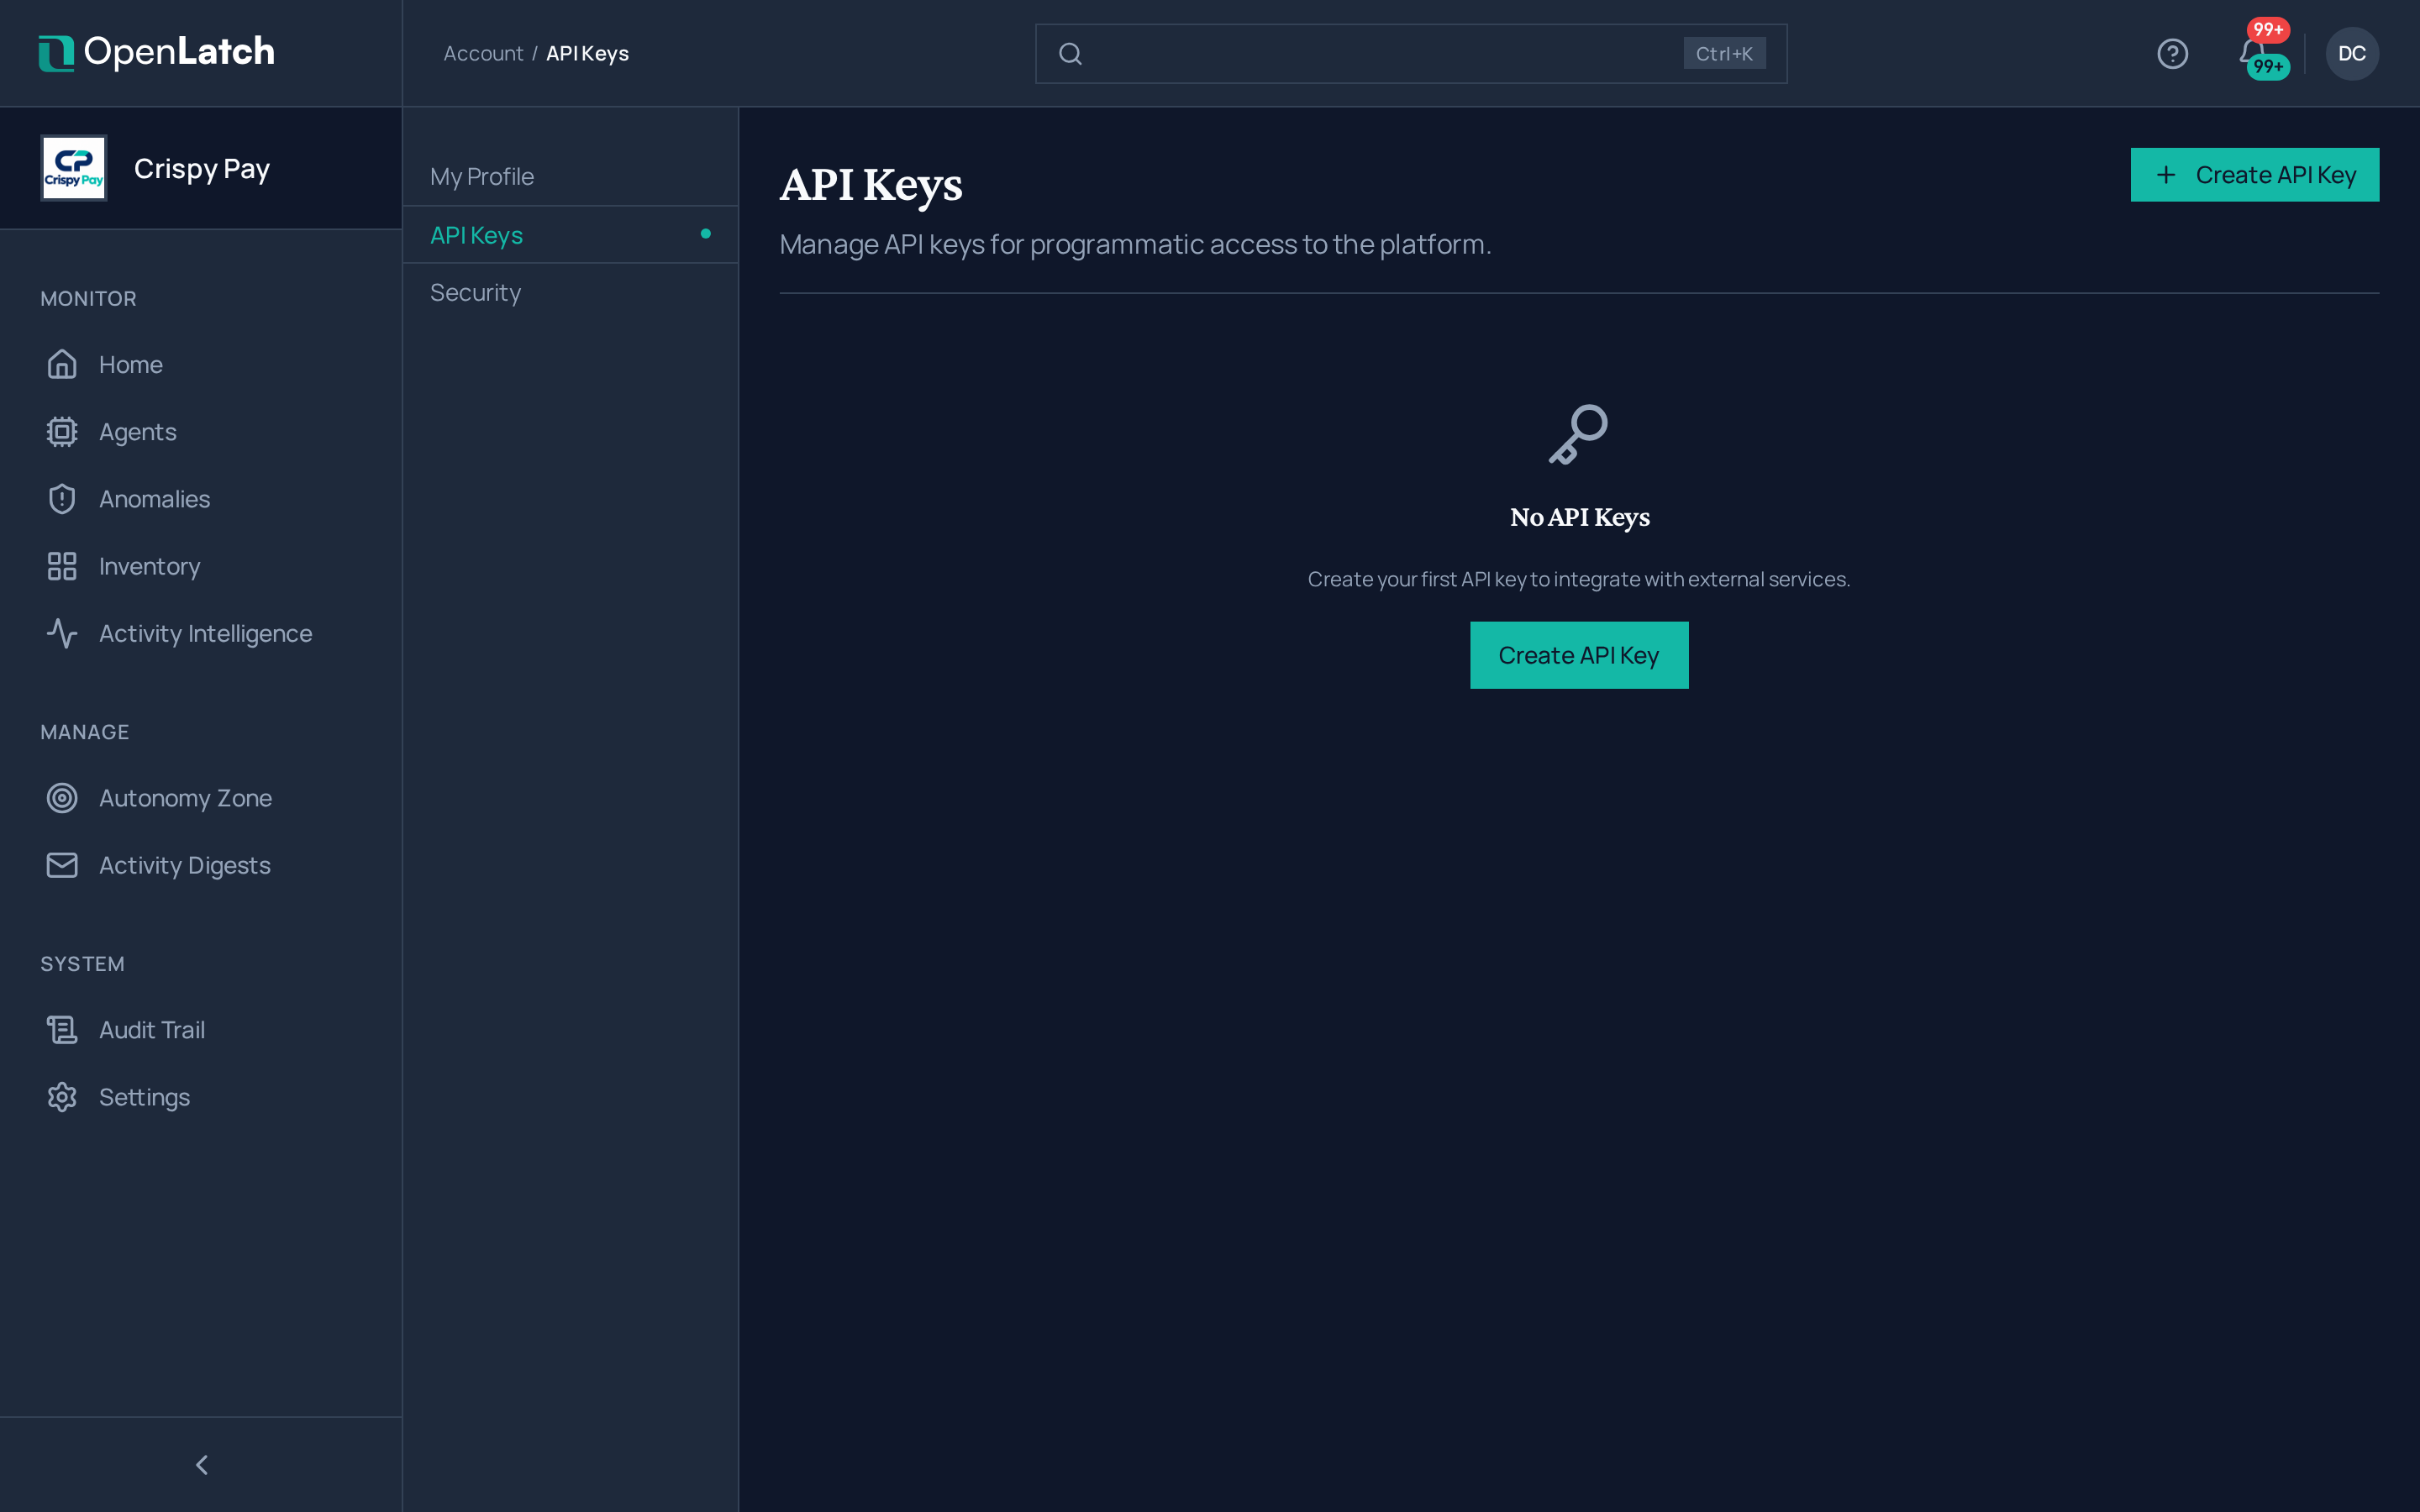
Section titled “Create the client credential”The client authenticates to the console with an API key. You create it from a signed-in browser session, on your account’s API Keys page, and revoke it from the same page.
-
Create one key per rollout wave, named after its wave. A key per wave means a key that has to be revoked affects one wave only.
Expected: the key value is shown once, in full, at creation. Afterwards the list shows its name, a masked value, when it was created and when it was last used.
-
Store it in your organization’s secret store. The managed install reads the key from the environment as
OPENLATCH_API_KEY. It is never written into a script, a package or a command line. -
Keep it until the wave’s machines hold a replacement. Each machine stores the key it was enrolled with and authenticates with it, so revoking a wave key disconnects every machine of that wave. Before you revoke one, give its machines a new key: set it as
OPENLATCH_API_KEYand runopenlatch init --yesagain on each machine. The last-used date tells you whether a key is still being presented before you revoke it.Expected: the key is listed as revoked, and anything still presenting it, an install or a machine, is refused.
Manage API keys covers keys in more detail.
In short
Section titled “In short”- OpenLatch creates the organization and invites its owner; the welcome wizard is where you name it.
- SAML 2.0 is configured per organization and checked by a test that names the stage that failed. Allowed email domains and invitations are the two gates on membership.
- Roles run owner, admin, editor, viewer, and every invitee starts as viewer. A directory connection is optional, read-only, and resolves an agent’s owner.
- Set the audit trail retention, with auto-purge, before the rollout starts, and point notifications at the channel already in use.
- Create one client credential per rollout wave, supply it through the secret store as
OPENLATCH_API_KEY, and revoke it when the wave completes.